Overview of Builder Gel
Builder gel is the unsung hero of the nail world, providing strength and length for those who crave glamorous, durable nails. But is builder nail gel bad for your nails?
This section will introduce you to builder gel, explaining its properties, how it differs from traditional nail products, and why it’s become a go-to choice for nail enthusiasts and professionals alike.
Buckle up, because we’re diving into nail enhancement where things can get sticky (and we’re not just talking about the gel)!
Purpose of the Study
So, why are we here, questioning the safety of builder gel? As we dig deeper, we’ll provide you with evidence-based insights so you can make informed choices about your nail care routine.
Because nobody wants to sacrifice nail health for the sake of beauty—unless you’re auditioning for a nail horror film!

Types of Builder Gel
Hard Builder Gel: The Heavyweight Champion of Nail Enhancement
Hard builder gel is the heavyweight champion in the world of nail enhancement, designed to add structure, strength, and lasting beauty to your nails.
Below, we’ll cover how to apply hard builder gel, its benefits, and its potential drawbacks.
And if the question of builder nail gel is bad for your nails is on your mind, remember that improper application or removal can indeed lead to nail damage. Here’s how to use it safely.
Proper Application of Hard Builder Gel
- Prepare the Nails: Start by gently pushing back your cuticles. Buff the nail surface lightly to remove any natural shine, then clean the nails with an alcohol wipe to ensure they’re oil-free and ready for bonding.
- Apply a Base Coat: Apply a thin layer of base coat over the entire nail, and cure it under a UV or LED lamp for the recommended time. This helps the builder gel adhere securely.
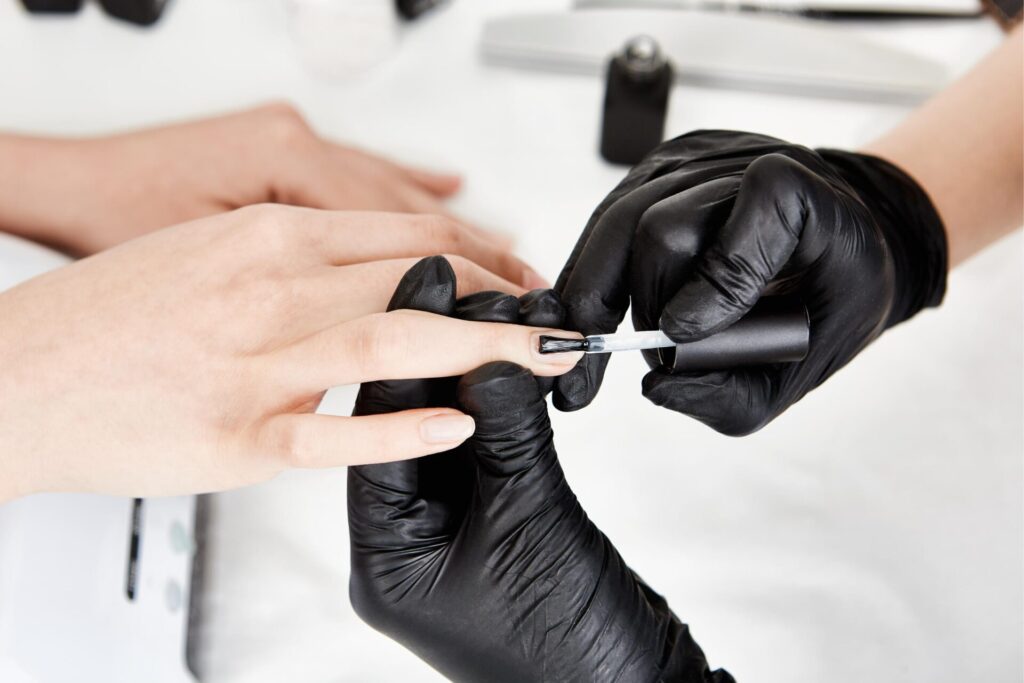
- Apply the Builder Gel: Place a small bead of hard builder gel in the center of the nail. Use a brush to spread it evenly, starting at the center and moving outward toward the edges and tip. Avoid touching the cuticles or side walls to prevent lifting. If you need extra thickness or structure, especially around the apex, you can add more gel.
- Cure Under the Lamp: After spreading the gel, cure your nails under a UV or LED lamp, following the manufacturer’s instructions.
- Shape and Refine: After curing, check the nails for shape and smoothness. Use a nail file to refine the shape and buff any uneven areas. Wipe away any sticky residue with an alcohol pad.
- Apply a Top Coat: Finish with a top coat to add shine and seal in the gel. Cure under the lamp one final time.
Following these steps ensures a strong, long-lasting builder gel application with minimal risk of damage to your natural nails.
Safe Removal of Hard Builder Gel
- File Down the Top Layer: Use a coarse nail file (100-150 grit) to gently file off the top layer of the builder gel. Be careful not to file down to the natural nail—focus only on removing the shiny top coat.
- Soak in Acetone: Soak a cotton ball in pure acetone, place it over each nail, and wrap each finger with aluminum foil to hold the cotton in place. Allow your nails to soak for 15-20 minutes.
- Check and Gently Remove: After soaking, check if the gel has softened. Use a wooden or metal cuticle pusher to gently push off the softened gel. Be cautious not to scrape too hard, as this can damage your natural nails.
- Repeat if Needed: If any gel remains, reapply the acetone-soaked cotton balls and foil wraps for another 5-10 minutes, then repeat the removal process.
- Buff and Hydrate: Once all the gel is removed, lightly buff the nail surface to smooth it out. Finally, apply cuticle oil and a nourishing hand cream to rehydrate your nails and skin, as acetone can be drying.
How Soft Builder Gel Works
Soft builder gel is designed for flexibility, which means it’s ideal for natural-looking enhancements without the added strength and thickness that hard builder gel provides.
This makes it a fantastic option for those who want a subtle boost to their nails without the commitment of a more rigid structure.
It’s also easier to soak off compared to hard builder gel, making removal less stressful on your natural nails.
Benefits of Soft Builder Gel
- Flexibility: Soft builder gel moves with your natural nails, which can reduce the risk of lifting or chipping, especially for short-term enhancements.
- Ease of Application: The thinner consistency allows for a smooth application, making it beginner-friendly.
- Gentler Removal: Soft builder gel can be soaked off more easily, which reduces the potential for nail damage.
Potential Drawbacks
- Less Durable: While soft builder gel is gentler, it doesn’t provide the same level of durability as hard builder gel. It’s best suited for shorter nails or clients who don’t need as much strength.
- Application Matters: Improper application can still lead to nail damage, especially if the gel touches the cuticles or sidewalls, which can cause lifting.
Pros and Cons Summary
Soft builder gel offers a natural look and is easier on the nails, making it a good option for temporary enhancements.
However, it requires careful application and may not be suitable for those needing long-lasting strength. So, while “is builder nail gel bad for your nails” remains a valid consideration, soft builder gel can be a safe and effective choice when applied and removed correctly.
PolyGel: The Game-Changer for Your Nails
PolyGel is an exciting new option in the world of nail enhancements, bringing together the best qualities of acrylic and gel.
PolyGel might be a great alternative. It’s lightweight, easy to apply, and doesn’t come with the strong smell that acrylics often do. Here’s why PolyGel is taking over the nail game, plus how to apply and remove it like a pro.
Why PolyGel is So Popular
PolyGel is basically the best of both worlds—combining the strength of acrylic with the flexibility of gel.
It feels way lighter on your nails than acrylics and doesn’t harden until you cure it with a UV or LED lamp, which gives you more time to perfect the shape.
It’s great for extensions or overlays, offering versatility and minimal mess. Plus, it’s low-odor, so you don’t have to deal with those harsh acrylic fumes.
The Perks of PolyGel
- Super Flexible: PolyGel can be used for both nail extensions and overlays, so it’s great if you like variety.
- Light and Comfortable: It’s not as bulky as acrylics, so your nails feel more natural.
- No Strong Smell: Unlike acrylics, PolyGel doesn’t have that strong chemical scent, which makes the process more pleasant for everyone.
- Easy to Shape: You don’t need to file it as much, saving you time and being easier on your nails.
Potential Downsides and Nail Health
- Needs UV/LED Curing: PolyGel needs to be cured under a UV or LED lamp, which can dry out your nails if overused.
- Application Matters: While PolyGel is pretty user-friendly, it still requires careful application. If not done properly, you could face some nail damage.
How to Apply PolyGel
Ready to try PolyGel for yourself? Here’s how to get it right:
- Prep Your Nails: Start by gently pushing back your cuticles and lightly buffing the nail to remove shine. Clean your nails with an alcohol wipe to ensure there’s no oil or residue.
- Apply a Base Coat: Put a thin layer of base coat on your nails, then cure it under a UV or LED lamp. This step helps the PolyGel stick better.
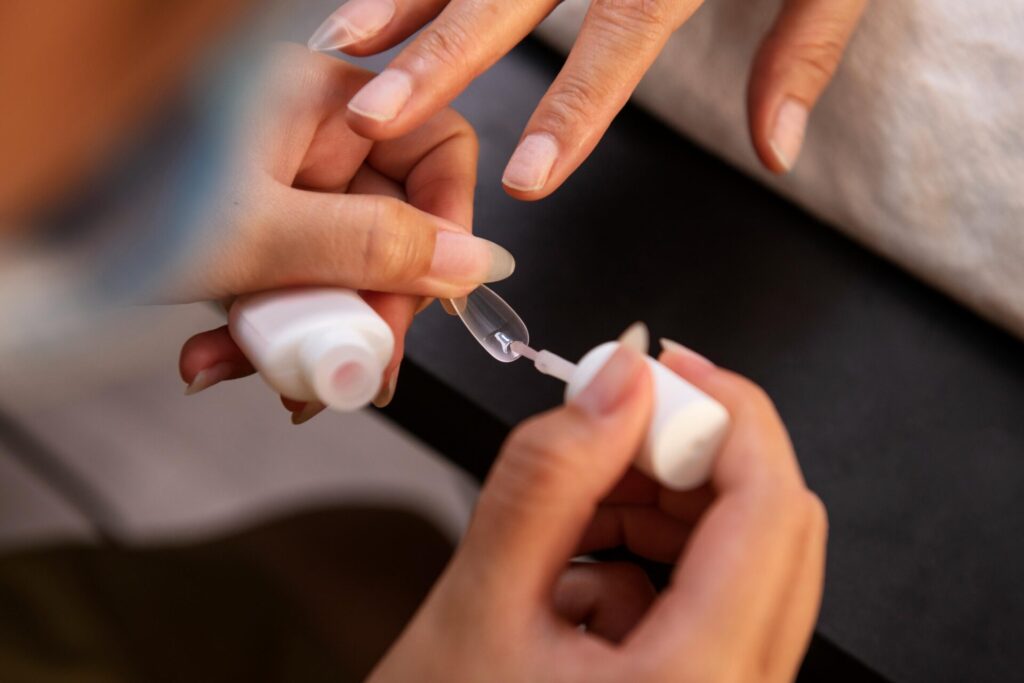
- Squeeze and Shape the PolyGel: Take a small bead of PolyGel and place it on the nail. Use a brush dipped in a bit of slip solution to spread it across the nail, starting from the center and working outward. Shape the gel to your liking. If you need more strength, build a little bump in the center for support.
- Cure Under the Lamp: Once you’ve shaped the PolyGel, cure it under a UV or LED lamp for the recommended time.
- Shape and Smooth: After curing, check the shape. File down any rough spots and refine the edges. Buff the surface if you want a smooth finish.
- Top Coat It: Apply a layer of top coat for shine and durability. Cure it again, and then wipe off any sticky residue with an alcohol wipe.
How to Remove PolyGel
If it’s time to say goodbye to your PolyGel nails, here’s how to do it safely:
- File Off the Top Layer: Use a coarse nail file to gently file off the top layer of the PolyGel, including any top coat. Be careful not to file down to your natural nail—just take off the shiny surface.
- Soak in Acetone: Soak a cotton ball in acetone, then place it on each nail. Wrap your fingers in aluminum foil to hold the cotton in place. Let it soak for about 15-20 minutes.
- Check and Gently Push Off the PolyGel: After soaking, check if the PolyGel has softened. Use a cuticle pusher to gently push off the gel. Don’t scrape too hard—be gentle to avoid damaging your natural nails.
- Repeat If Necessary: If there’s still some PolyGel left, reapply the acetone-soaked cotton and foil and soak for another 5-10 minutes, then try again.
- Buff and Moisturize: Once the PolyGel is fully removed, lightly buff your nails and apply cuticle oil and hand cream to keep your nails and skin hydrated, as acetone can be drying.
So, Is PolyGel Better for Your Nails?
PolyGel might be a good option for you. It’s lighter than acrylic, has less odor, and needs less filing, which makes it a gentler choice.
However, just like with any nail enhancement, proper application and careful removal are key to keeping your natural nails healthy.
Ingredients in Builder Gel and Their Effects


Builder gels are made up of several chemicals that play different roles in their performance, but it’s important to understand what these ingredients are and how they can affect your nails.
One of the key ingredients in many builder gels is methacrylate compounds, which are used to help the gel harden and bond to the natural nail.
Methacrylate is a type of plastic that forms a strong, durable bond, making the gel resistant to chipping and damage.
However, for some people, repeated exposure to methacrylate compounds can cause allergic reactions.
Symptoms can include redness, swelling, itching, and in severe cases, damage to the nail bed or surrounding skin.
Another ingredient commonly found in builder gels is resins. Resins are used to help the gel maintain its flexibility and prevent it from cracking or breaking too easily.
While resins are generally safe, certain types can cause irritation or allergies in sensitive individuals. Resins may also contribute to nail thinning over time if the gel is used frequently or removed improperly.
The reason understanding these ingredients is so important is that, although they help create strong, long-lasting nails, they can have negative side effects with prolonged or improper use.
Research has shown that continued exposure to some of these chemicals, especially if the builder gel is applied too often or not removed correctly, can weaken the natural nail, leading to issues like nail thinning or even brittleness.
Some individuals may also develop sensitivities or allergic reactions to the chemicals in the gel, especially after repeated use.
So, while builder gels can create stunning, long-lasting manicures, it’s crucial to be aware of the potential risks associated with these chemicals and make informed decisions about their use.
Protecting your nails with proper application and removal techniques, and taking breaks between applications, can help minimize the potential for damage.
Allergic Reactions and Sensitivities
Certain ingredients in builder gels can trigger allergic reactions in some people, which is why it’s important to be aware of the symptoms, how to identify them, and what to do if you experience them.
If you’re using builder gel and begin to notice any unusual changes in your nails or skin, it’s essential to act quickly to prevent further irritation or damage.
Symptoms of Allergic Reactions to Builder Gel
- Redness and Swelling: One of the first signs of an allergic reaction is redness or swelling around the nail or on the skin near the cuticles. The area may feel tender to the touch, and the skin can become inflamed. This is usually caused by a sensitivity to one of the gel’s chemicals, such as methacrylate compounds.
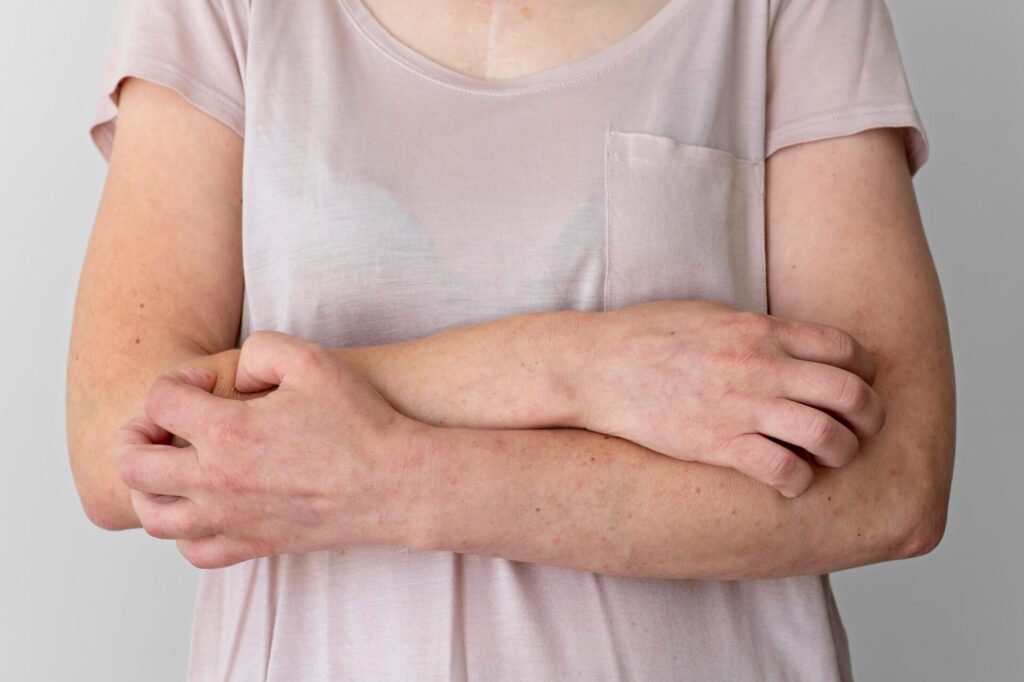
- Itching or Rash: Itching is a common symptom of an allergic reaction, and you may develop a rash or hives around the nail or on the surrounding skin. If you start scratching, it can irritate the skin further, making the reaction worse.
- Pain or Tenderness: An allergic reaction can also cause pain or tenderness in the affected area, especially if the gel has been applied too thickly or the wrong type of gel was used. The discomfort could be localized to the nail or spread to the finger.
- Peeling or Flaking of the Skin: If the allergic reaction is more severe, the skin around your nails might begin to peel or flake. This can occur if the gel has caused irritation to the skin’s surface or if it’s been left on for too long without proper care.
- Nail Damage: In some cases, prolonged exposure to the chemicals in builder gel can result in more severe nail damage, such as nail thinning, cracking, or discoloration. This can happen if the allergic reaction goes unnoticed and untreated for a prolonged period.
- Burning Sensation: A burning or stinging sensation when the gel is applied or when exposed to UV light could be a sign of an allergy. This often occurs immediately after the gel is applied or after curing under a UV/LED lamp.
How to Identify an Allergic Reaction
The symptoms of an allergic reaction to builder gel typically appear within hours or a day after application. If you notice any of the symptoms above, it’s crucial to stop using the product immediately to prevent further irritation.

In some cases, the reaction can become more severe over time if exposure continues.
What to Do if You Experience an Allergic Reaction
- Remove the Gel Immediately: If you suspect an allergic reaction, remove the builder gel as soon as possible. This may involve soaking your nails in acetone and gently removing the gel, being careful not to damage the natural nail. If you can’t remove the gel yourself, seek help from a professional nail technician.
- Clean the Area: After removing the gel, clean the affected area with mild soap and water. You can also apply a soothing solution like aloe vera or hydrocortisone cream to help reduce inflammation and irritation.
- Consult a Dermatologist: If the symptoms are severe, persistent, or worsening, it’s important to consult a dermatologist. They can help identify the specific cause of the reaction and recommend appropriate treatment. In some cases, an allergy to methacrylate compounds may require you to avoid builder gels entirely.
- Switch to Hypoallergenic Products: If you have a known allergy to certain ingredients in builder gels, it might be a good idea to switch to hypoallergenic or non-toxic nail products. There are now gels formulated without common allergens like methacrylate, so you can still enjoy beautiful nails without the risk of irritation.
Expert Insight on Navigating Sensitivities
Allergic reactions to builder gel are relatively uncommon, but they can happen, especially if you have sensitive skin or a history of allergies to other nail products.
Nail technicians often recommend doing a patch test before fully applying the gel to your nails, especially if you’re trying a new brand or formula.
By testing a small amount of product on a discreet part of your skin (like behind your ear or on your wrist), you can check for any allergic reactions before committing to a full manicure.
Remember, just because a product works for most people doesn’t mean it will work for everyone. If you’re unsure about a product’s ingredients or have sensitive skin, it’s always best to consult with a professional or opt for nail products designed specifically for sensitive individuals.
Protecting your nails and skin from harmful reactions will help you maintain a healthy, beautiful manicure in the long run!
How Builder Gel Affects Nail Health
Using builder gel can give you stunning nails, but it’s important to know how it can affect your nails both immediately and over time.
Right after you apply the gel, your nails might feel stronger, but the truth is, they can become weaker once the gel comes off.
Builder gel acts as a protective layer, which can make your natural nails feel softer or more fragile. Another issue is dehydration; because the gel blocks moisture, your nails can dry out and become prone to cracking or breaking.
This is why it’s so important to keep your nails hydrated with oils and creams to counteract that dryness.
Over time, regular use of builder gel can lead to nail thinning. Your natural nails may become weaker with repeated application because the gel stops your nails from growing freely and absorbing nutrients.
Some people also deal with lifting or peeling, especially if the gel is applied improperly or not removed correctly.
This can create gaps where moisture or bacteria can get trapped, leading to further issues. In some cases, your nails might even discolor, turning yellowish or dull.
And if the gel isn’t removed gently, it can damage your nails, leaving them brittle.
So while builder gel can give you beautiful nails in the short term, it’s crucial to take breaks, hydrate your nails, and follow safe removal methods to keep them healthy in the long run.
Myths and Misconceptions
The world of builder gel is full of myths and misconceptions that can make it hard to know what’s true and what’s just gossip.
One of the most common myths is that builder gel is always bad for your nails. While it’s true that improper application or removal can cause damage, when used correctly and with care, builder gel can actually help protect and strengthen your nails.
It’s also a misconception that it’s only for those with long nails many people with short nails use builder gel to add strength and shape without the need for extensions.
Another myth is that builder gel will always cause nails to become thin and weak. While overuse or neglecting nail care can lead to issues, using builder gel with proper techniques and regular breaks can maintain nail health.
Some also believe that builder gel is unsafe or toxic, but the truth is that most modern builder gels are formulated with safe ingredients when used as directed.
People with certain allergies or sensitivities may experience irritation, which is why it’s important to do a patch test before using any product.
Finally, there’s the myth that builder gel is permanent. It’s not! With the right removal methods, builder gel can be safely taken off without damaging your natural nails.

So, don’t let these myths stop you from enjoying beautiful, strong nails. By understanding the facts, you’ll be able to make the best choices for your nails and keep them healthy and fabulous!
You guys can check out this side of our blog where we discuss more of the facts about nail health and wellness.
Alternatives to Builder Gel
If you’re looking for alternatives to builder gel, there are several natural products and treatments you can try to maintain strong, healthy nails without the use of synthetic materials. Here are some options:
- Natural Nail Polishes: Traditional nail polishes, like those from Essie or Orly, are a popular alternative. They don’t require UV light and are easy to remove with standard nail polish remover. While they may not be as long-lasting as builder gels, using high-quality nail polishes can still give you a polished look with proper care . Woman and Home Magazine
- Press-On Nails: If you like the idea of nail extensions without the hassle of builder gels, press-on nails are a quick and affordable option. They come in many styles and are easy to apply. Just make sure to remove them carefully to avoid damaging your natural nails.
- Nail Care Treatments: A break from gels can allow your nails to heal and restore their strength. Treatments such as nourishing oils, vitamin E cuticle oil, and strengthening serums can help maintain your nails’ health. These products often include ingredients like biotin, which promote nail growth and prevent brittleness.
- Acrylic Nails: Acrylic nails are another long-standing alternative. While they offer durability and customization options, they do require careful application and removal to avoid damaging your natural nails.
- BIAB (Builder in a Bottle): For those who still want a builder gel-like result but with a more natural approach, BIAB is a good choice. It’s a hybrid system that strengthens nails while allowing for growth. The application is similar to builder gel, but it is marketed as more nail-friendly
Remember, the best choice depends on your specific nail needs, whether you’re looking for strength, length, or just a bit of color.
Always check for any sensitivities before trying new products, and consider giving your nails a break every so often to let them recover.
Conclusion
In this guide, we’ve covered everything you need to know about builder gel and how it affects nail health.
We began by exploring the different types of builder gel, including hard, soft, and PolyGel, each with its unique benefits and considerations.
We discussed the proper techniques for applying and removing these gels, ensuring that you can enjoy beautiful nails without causing damage.
We also examined the ingredients commonly found in builder gels, such as methacrylate compounds, which can pose risks if not used properly.
But don’t worry most modern builder gels are formulated with safe ingredients, as long as you follow the right application and removal steps.
We also addressed common myths, like the idea that builder gel is always bad for your nails. In fact, when used correctly and with care, builder gel can strengthen and protect your nails.
However, there are potential downsides to long-term use, such as nail thinning and damage, which is why it’s important to take breaks, maintain good nail care, and opt for professional removal when needed.
For those who prefer a more natural route, we explored alternatives like press-on nails, acrylics, and natural nail treatments that can provide strength and beauty without the use of builder gel.
By now, you should have a better understanding of how to make builder gel work for you, while also keeping your nails healthy and strong.
If you’re ever in doubt, always consult with a professional and take the time to listen to your nails’ needs. After all, your nails deserve the best care!


