Why It’s Important to Clean Nail Clippers: A Quick Guide to How To Clean Nail Clippers For better Hygiene and Nail Care
Have you ever grabbed your nail clippers, only to find them sticky or rusty?
Keeping nail clippers clean isn’t just about aesthetics it’s a simple way to protect yourself from infections and maintain proper hygiene.
Surprisingly, studies show that nail clippers can harbor harmful bacteria like Staphylococcus aureus, which, if not cleaned regularly, may lead to serious skin and nail infections.
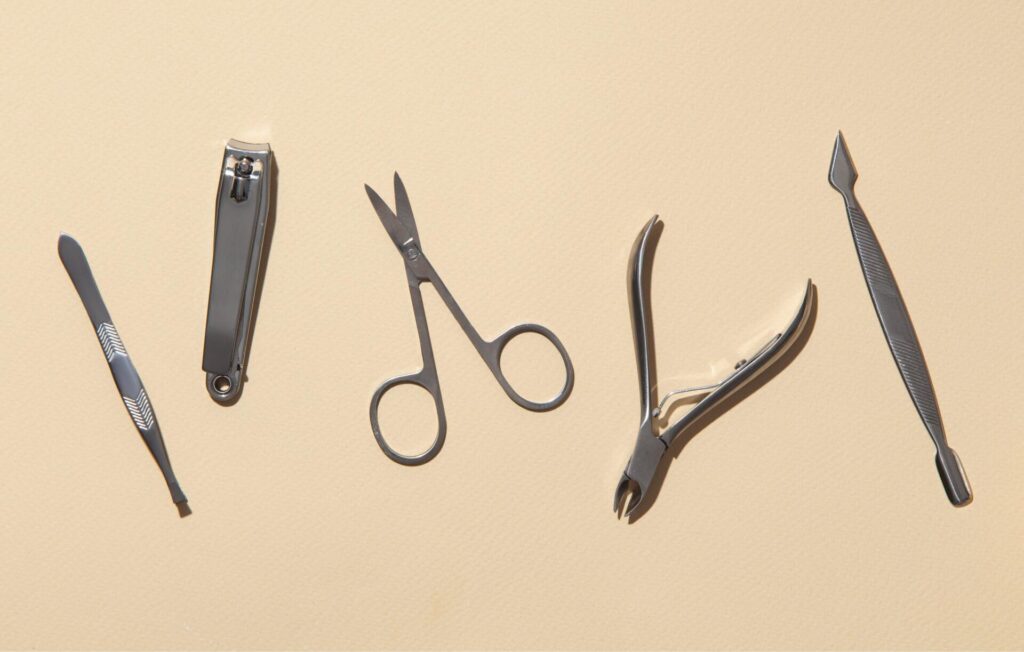
Importance of Cleaning Nail Clippers
Nail clippers are essential tools, but they often go unnoticed when it comes to hygiene.
Did you know that dirty clippers can transfer bacteria and fungi to your nails, potentially causing infections or other nail health issues?
Keeping your clippers clean is crucial for personal grooming and maintaining the health of your nails.
A quick check: if your clippers have visible buildup or feel rough, they’re due for cleaning. Dirty tools can lead to nail damage, such as splits or tears, and even fungal infections.
Keeping them clean isn’t just a personal grooming step—it’s also a small action with big health benefits for your nails.
Risks of Using Dirty Clippers
Using dirty nail clippers can lead to nail infections like paronychia or even fungal issues such as onychomycosis.
Research published in the Journal of Infection Prevention highlights that improper cleaning of personal care tools significantly increases the risk of spreading bacterial infections.
If your clippers look dull or rusty, they’re not just ineffective; they might be unsafe.
A quick tip: always check for debris around the blades before each use.

Tools and Materials Needed
Cleaning nail clippers doesn’t require fancy tools.
All you need are soap, warm water, a toothbrush or small brush, and a disinfectant like isopropyl alcohol.
If you want to go the extra mile, consider an ultrasonic cleaner.
These tools aren’t just for professionals they can make cleaning much easier at home, especially for families sharing nail clippers.
Essential Supplies for Cleaning
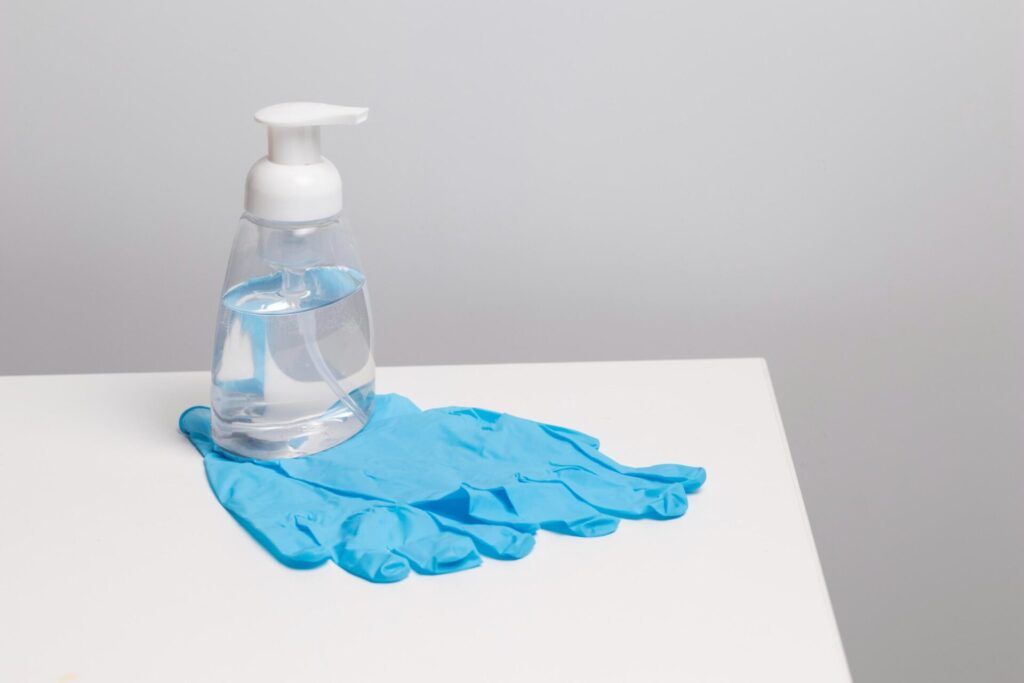
To clean effectively, gather your supplies: mild soap, a toothbrush, and a lint-free towel for drying.
For disinfection, opt for isopropyl alcohol (70% or higher) or hydrogen peroxide.
Fun fact: According to the American Journal of Public Health, alcohol-based disinfectants are 99.9% effective at killing common pathogens, making them ideal for your clippers.
How to Clean Nail Clippers: Step-by-Step Guide for Thorough Cleaning and Maintenance
Ultrasonic cleaners are a game-changer for deep cleaning.
They use sound waves to break down dirt in hard-to-reach places.
While not essential, they’re a great addition if you want your clippers to look and feel brand new.
Consider this upgrade if you share your tools or use them frequently.
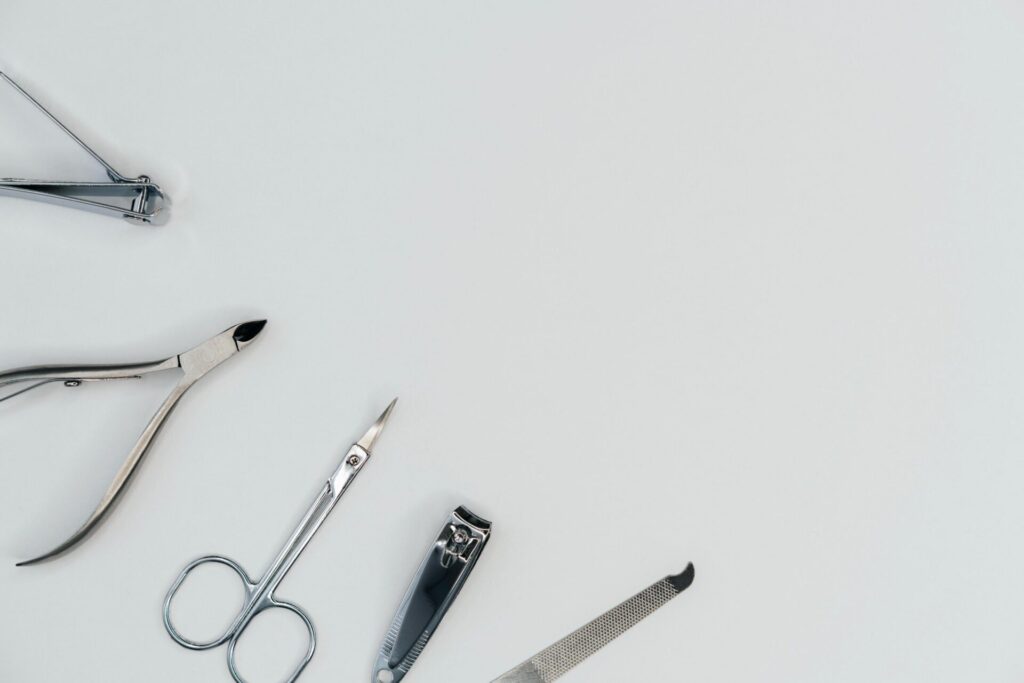
Step-by-Step Guide for Thorough Cleaning
- Disassembling Your Clippers
- Washing with Soap and Water
- Removing Rust and Debris
- Disinfecting Properly
- Drying and Reassembling
Step 1: Disassembling Your Clippers
Start by taking apart your nail clippers.
Most clippers have a removable lever or screw that makes it easy to access every surface.
Disassembling ensures you clean all the nooks and crannies where germs like to hide.
Place the parts on a clean towel to avoid losing them.
Step 2: Washing with Soap and Water
Wash your clippers under warm, soapy water to remove surface dirt.
Use a toothbrush to scrub around the blades and joints.
Pay close attention to any grooves where buildup might collect.
A good wash removes debris and prepares the clippers for disinfecting.
Tip: If your clippers smell metallic, they might need extra cleaning.
Step 3: Removing Rust and Debris
For stubborn rust, soak your clippers in white vinegar for 30 minutes.
Use a toothbrush or fine steel wool to scrub away any remaining rust.
Vinegar’s mild acidity helps break down corrosion, making it an effective natural cleaner.
Rinse well and dry completely to avoid further rusting.
Step 4: Disinfecting Properly
Disinfection is key to ensuring your clippers are germ-free.
Submerge them in isopropyl alcohol or hydrogen peroxide for at least 10 minutes.
A study by the National Center for Biotechnology Information (NCBI) found that alcohol-based disinfectants eliminate up to 98% of bacteria and fungi on metal surfaces.
This step ensures your clippers are safe and hygienic for use.
Step 5: Drying and Reassembling
After disinfecting, dry your clippers thoroughly with a lint-free towel or by air drying.
Moisture can lead to rust, so this step is essential.
Once dry, reassemble the clippers carefully, ensuring all parts fit snugly.
Proper drying and reassembly extend the life of your tools and keep them in top shape.
Deep Cleaning for Extra Hygiene
For a deep clean, soak your clippers in isopropyl alcohol for an hour or use an ultrasonic cleaner.
These methods ensure every crevice is germ-free, making them ideal for shared tools.
If your clippers still feel grimy, repeat the process.
Deep cleaning is especially important after extended periods of non-use.
Maintenance Tips
Routine maintenance is easy and pays off in the long run.
After each use, wipe your clippers with a disinfectant-soaked cloth.
Store them in a dry, clean place to prevent rust and contamination.
Bonus tip: adding a silica gel packet to your storage case helps absorb moisture, keeping your clippers rust-free.
How Often to Clean Your Nail Clippers
For personal use, clean your nail clippers after every few uses or whenever they look dirty.
If you’re sharing them or using them in a professional setting, disinfect them after every use.
Consistent cleaning reduces the risk of infections and keeps your grooming routine hassle-free.
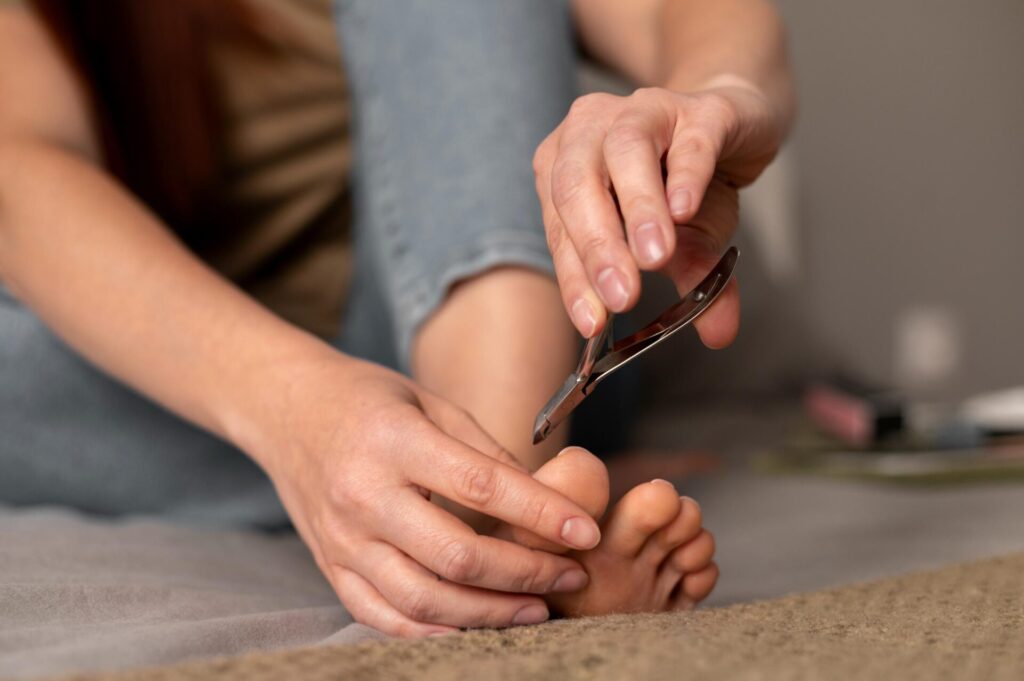
Proper Storage to Prevent Contamination
Proper storage is just as important as cleaning. Keep your nail clippers in a dry container or case to protect them from dust and moisture.
Avoid storing them in bathrooms, where humidity can lead to rust. A quick check: if your storage area feels damp, it’s time to relocate your tools.
Common Mistakes to Avoid
One common mistake is using bleach or harsh chemicals, which can corrode the metal. Another is skipping disinfection, assuming washing is enough.
Always take the time to disinfect after cleaning to eliminate any lingering germs. Remember: shortcuts might save time but can compromise your health.
Conclusion
Cleaning your nail clippers regularly is a small but impactful habit that promotes healthier grooming. By removing dirt, rust, and germs, you protect your nails and skin from infections.
With the right steps, tools, and a little effort, you can ensure your clippers remain in top condition, ready for safe and effective use.
To check out more tips and valuable advice about nails and how to take care of them, visit the Nail Care and Wellness section on our blog.
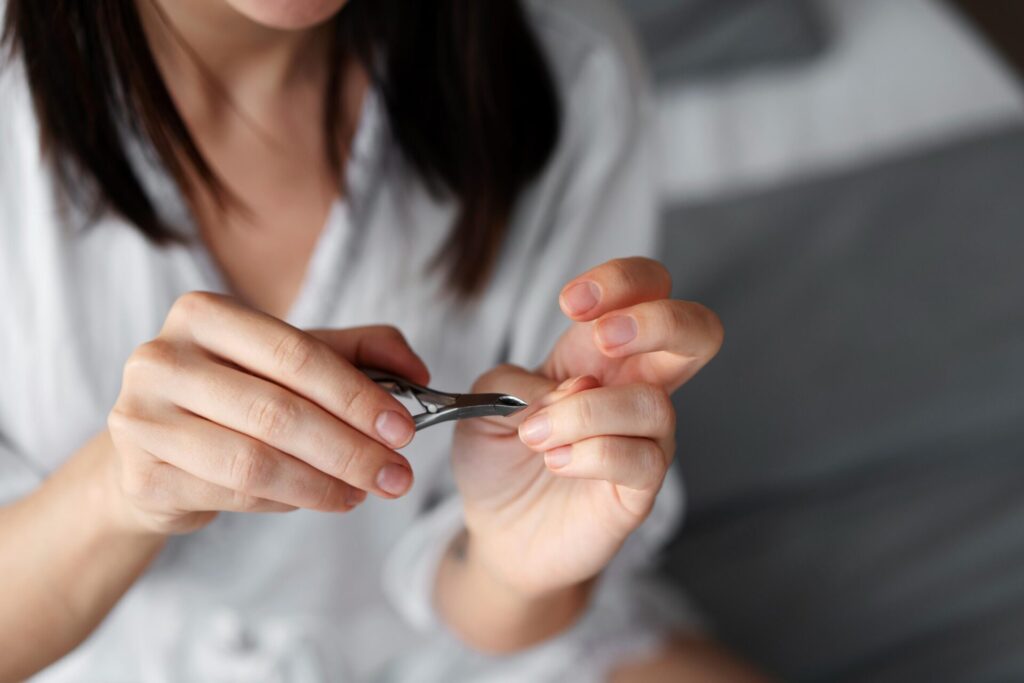
Benefits of Regular Cleaning
Clean nail clippers prevent infections, extend their lifespan, and enhance your grooming routine. They also foster good hygiene habits that reflect care for your well-being.
By taking a few minutes to clean your clippers, you invest in a healthier, more hygienic lifestyle for yourself and your family.
