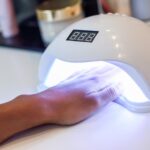
If you’ve ever tried taking off gel polish with just acetone and foil, you know it can be a long, messy process. That’s why more and more people pros and DIY nail lovers alike are switching to electric nail drills (or e-files) to get the job done faster and with less hassle.
One of the biggest questions people have when making the switch is which nail drill bit to remove gel polish without damaging the natural nail.
But here’s the thing: using a nail drill the wrong way, especially with the wrong bit, can actually harm your nails.
Think thinning, burning, or even long term damage. So how do you know which nail drill bit is safe and effective for removing gel polish?
Let’s break down the best options based on your skill level, the type of bit, and how each one works.
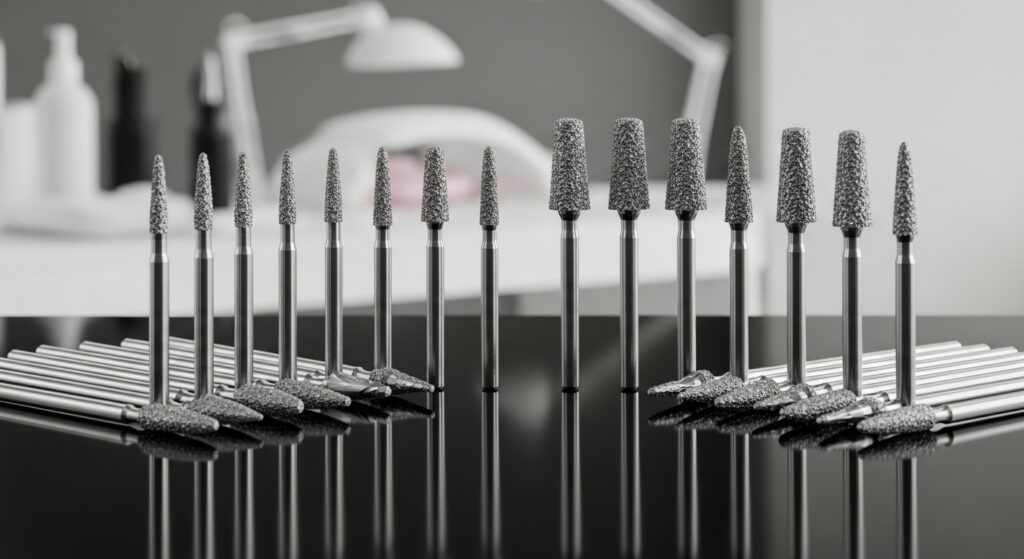
Understanding Nail Drill Bits
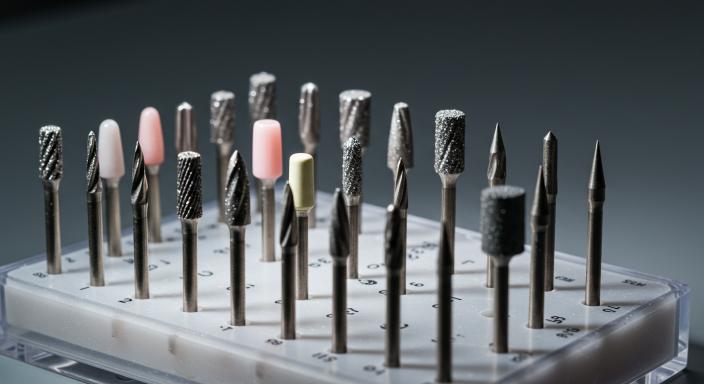
Nail drill bits are the little attachments you pop onto the end of your e-file they’re what actually do the work when you’re filing, shaping, or removing product from your nails.
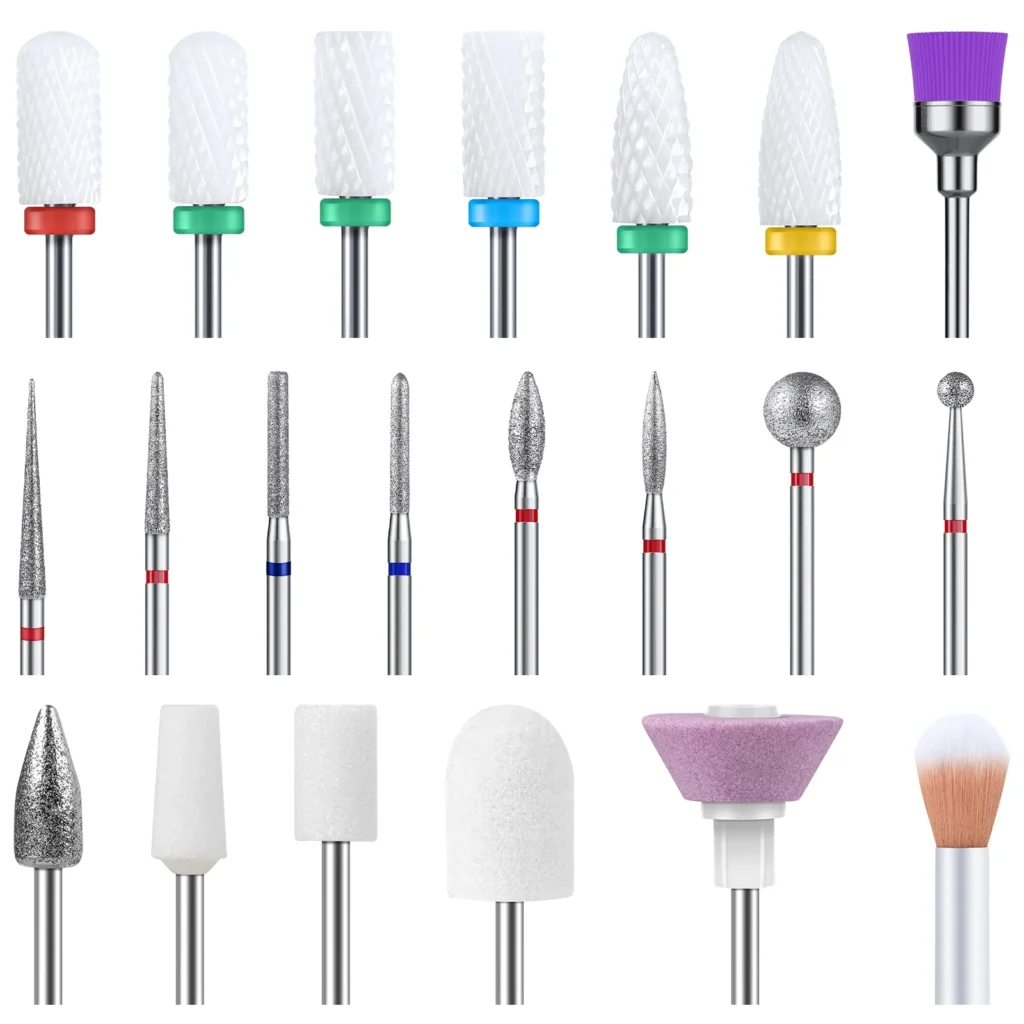
These bits come in a few different materials, with carbide, ceramic, and diamond-coated being the most common. Each one is designed for a specific purpose.
Some are made to remove product like gel or acrylic, others are great for smoothing the surface of the nail, cleaning up around the cuticle, or even buffing to a shine.
When it comes to removing gel polish, not just any bit will do. You need something strong enough to break through the hardened gel layers but gentle enough that it won’t harm your natural nail underneath. That’s where carbide and ceramic bits really shine.
Both are highly effective, but they work slightly differently, which we’ll break down shortly. Choosing the right one can mean the difference between a smooth removal… and a damaged nail plate.
The Best Nail Drill Bits for Gel Polish Removal
For those starting out, a mandrel bit with sanding bands is one of the most forgiving and accessible tools. This bit consists of a metal base onto which you slide a replaceable sanding band, usually in medium or coarse grit.
While not as powerful as carbide bits, sanding bands are great for gently filing off the topcoat of gel without much risk of injury. They’re ideal for beginners who want more control.
More advanced users often reach for carbide bits, especially barrel-shaped or safety barrel bits. These are incredibly effective at removing gel polish quickly.
A barrel bit has a flat surface, allowing you to file evenly across the nail, while the safety version features a rounded top that prevents cutting or gouging near the cuticle.
Professionals love these bits because they save time and reduce the amount of acetone needed. However, they do require a steady hand and a good understanding of drill speed and pressure.
Ceramic bits are another solid option and are known for producing less heat due to their insulating properties. They’re especially useful for clients with sensitive nails or for those newer to using an e-file.
Like carbide, ceramic bits come in different shapes and grits, but they tend to be more beginner friendly because they cut more slowly and gently.
Choosing the Right Shape
When it comes to nail drill bits, shape is just as important as the material. If you’re trying to remove a lot of gel polish quickly, a barrel-shaped bit is a great go-to. Its wide, flat surface makes it easy to file evenly across the nail, so you can remove bulk without overworking one spot.
But when you’re working near the cuticle or trying to clean up those tricky sidewalls, you’ll need something more precise.
That’s where flame-shaped or tapered bits come in. Their pointed tips let you get into tighter areas without risking cuts or over-filing sensitive skin.
Another popular option, especially among nail techs, is the 5-in-1 carbide bit. This bit is super versatile—it gradually changes grit from coarse at the base to fine at the tip.
That means you can remove gel, refine the shape, and smooth everything out with just one bit. It’s a real time saver if you’re doing nails regularly and want to keep your toolkit simple.
Grit and Drill Speed
When it comes to removing gel polish with a nail drill, grit really matters. Think of it like sandpaper—the coarser it is, the more product it can remove, but also the rougher it is on your nails.
If you’re dealing with hard gel or thick overlays, a coarse grit bit can power through it quickly. Just be careful these bits are aggressive and should never touch your natural nail, or you could end up with thinning or damage.
For most gel manicures, a medium grit is your best bet. It’s strong enough to remove soft gel polish without being too harsh. And once you’re down to the last bit of product, switching to a fine grit bit helps smooth things out and prep the surface for any new polish or treatments.
Speed plays a big role too. The ideal drill speed for gel polish removal is usually between 10,000 and 15,000 RPM.
Anything faster than that can cause heat buildup and trust us, you’ll feel it.
To avoid discomfort, always keep the bit moving across the nail and let it do the work. There’s no need to press down hard; a light, steady touch goes a long way.
Technique Matters
Even with the perfect bit, poor technique can lead to damage. Start by gently filing off the topcoat the shiny surface of the gel polish.
Once you see the base layer or feel a difference in texture, stop and either switch to a softer bit or use acetone to soak off the remainder. This hybrid method minimizes chemical exposure and protects the natural nail.
Work one nail at a time, and always keep your drill moving. Staying in one place for too long can create friction, leading to heat spikes that are uncomfortable and damaging.
Use light pressure and adjust your hand position so you’re always working with good visibility.
If you’re dealing with builder gel or extensions, a stronger carbide bit may be necessary, but if you’re just removing regular gel polish from your own nails, stick to safer options like ceramic or sanding bands.
Cleaning and Maintenance
After each use, remove the bit and clean it thoroughly.
Carbide bits can be soaked in disinfectant, while ceramic bits should be cleaned more gently to avoid cracking.
A bit brush will help remove dust and debris between clients or uses. Always allow your bits to air dry fully before storing them in a dry, sterile case.
Final Thoughts
The right nail drill bit for removing gel polish will depend on your comfort level, nail type, and the kind of gel you’re working with.
Beginners should consider starting with sanding bands or ceramic bits, while professionals may opt for a barrel or 5-in-1 carbide bit for faster results.
With the right tools and techniques, gel polish removal doesn’t have to be a dreaded chore—it can be smooth, fast, and damage free.
Whether you’re running a salon or just doing your nails at home, investing in the right bit is a small step that makes a big difference.