How to Remove Semi Cured Gel Nail Strips can be a bit tricky if you’re not sure where to start, but with the right steps, you can do it safely and effectively.
These gel nail strips offer a long-lasting, salon-quality look, but removing them improperly can lead to damaged nails or irritation.
Definition and features of semi cured gel nail strips
Semi-cured gel nail strips are a mix of conventional nail polish as well as gel.
These strips are created from genuine gel polish that’s been partially dried, giving the flexibility of a sticker, but the strength of gel.
They’re soft and pliable when applied, which makes it easy to shape your nails.
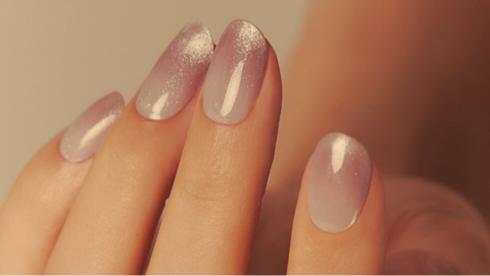
When they are dried with a UV light, they become hard and have a glossy and long-lasting look.
These strips are ideal for nail polish that is salon-quality at home. They can last about two weeks if properly cared for.

Benefits of semi cured gel nail strips
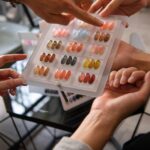
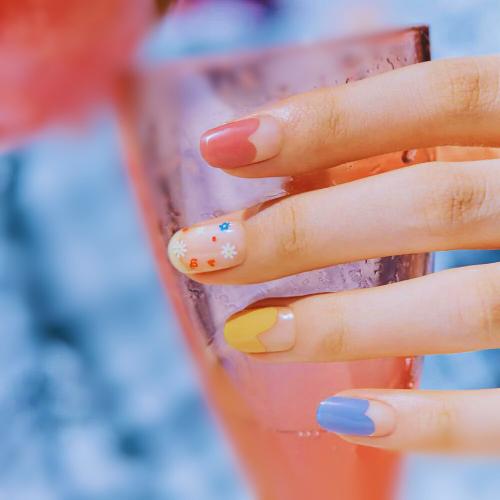
Semi-cured gel nail strips are a game changer for nail lovers. They give a professional appearance without the expense or time of a visit to a salon.
They are available in a variety of styles and colors They’re suitable for beginners and require no tools. Because they’re partly cured they stick well to nails with no bubbles or lifts.
They’re also less harmful than conventional acrylics or gels and can be removed with no harsh chemicals if properly handled.
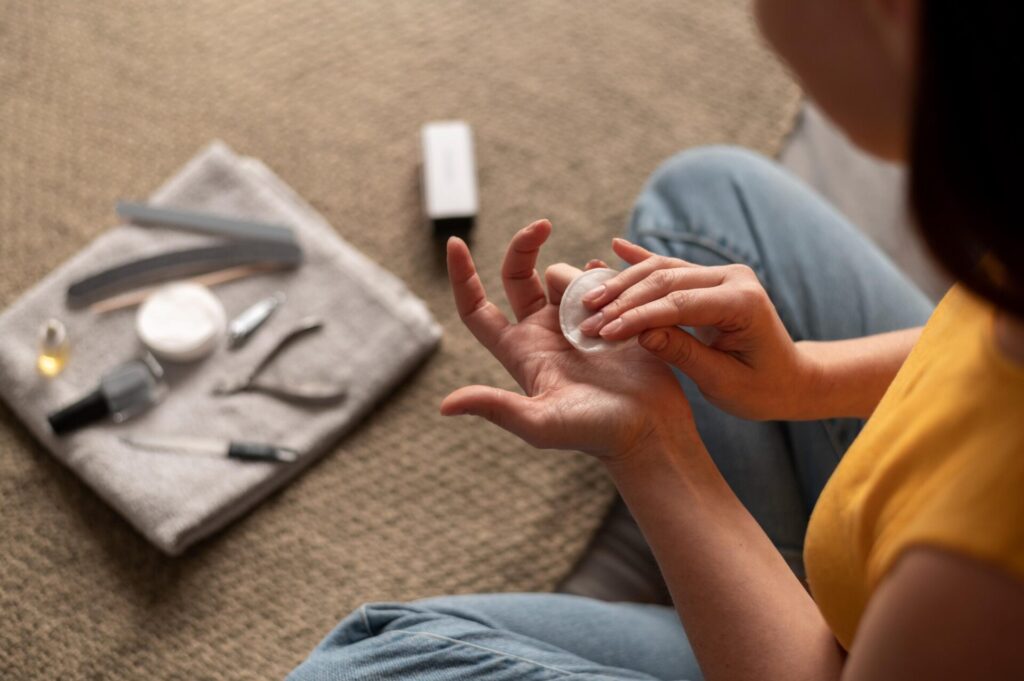
Tools you’ll need for removal
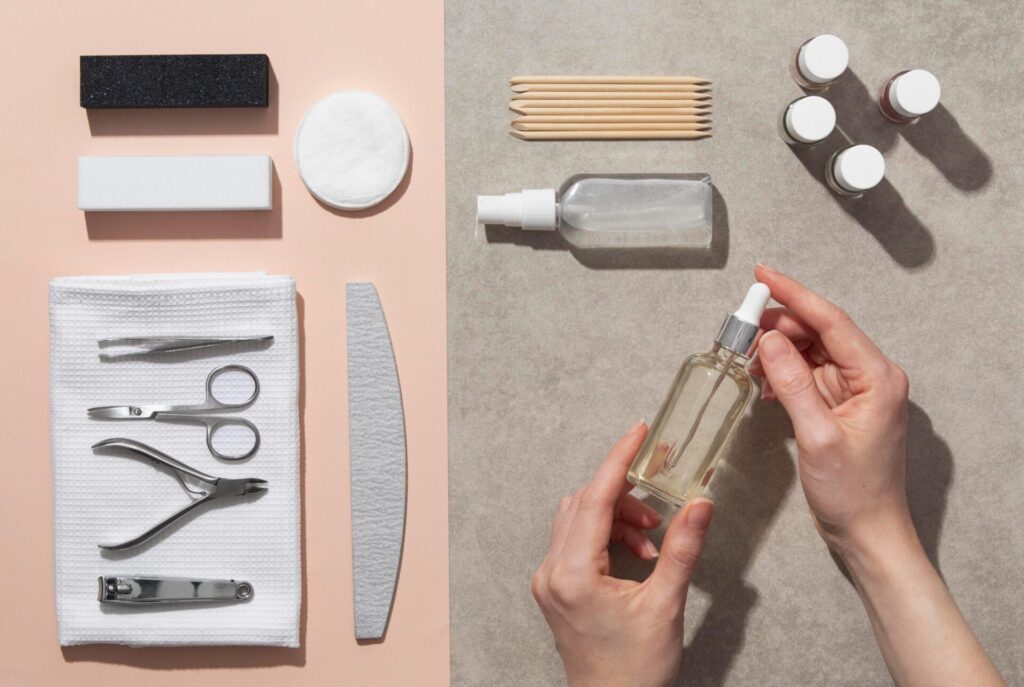
Removal of semi-cured gel nail strips requires specialized tools that will ensure a secure and effective procedure. The fundamentals are:
- Acetone-Free or Acetone Based Nail Polish Remover Acetone-based nail polish removers can be efficient in breaking down the adhesive but could dry out your nails. Acetone-free options are less abrasive however they may require more time to soak.
- Cuticle Stick or Orange Stick: These tools assist in lifting off the sides of your strips, without scratching your nail’s surface.
- Nail File The use of a fine-grit nail file can be used to smooth any adhesive residue left after removal.
- Cotton Pads The pads are used for soaking nail remover, and then apply directly to the strips.
- Aluminum Foil or Nail Clips Covering your nails with foil or clipping them secures the cotton pads, making sure the remover remains in place.
How to remove semi cured gel nail strips : Step-by-step
- Prepare: Begin by gathering the necessary tools. The top layer of strips with a light touch to loosen the seal, making the removal process more efficient.
- Soaking Make a sponge of cotton with the nail polish remover and put it onto the nail. Cover the nail with foil or secure it by using a nail clip to hold it in its place. Allow it to sit for 10 minutes.
- lifting the strips After washing, gently push up the strip’s edge using a cuticle stick. The strip should be lifted easily and without resistance. If the strip isn’t moving then soak it for a bit longer.
- Cleaning Residue Once the strips have been removed then use a clean cotton pad and remover to clean any adhesive residue.
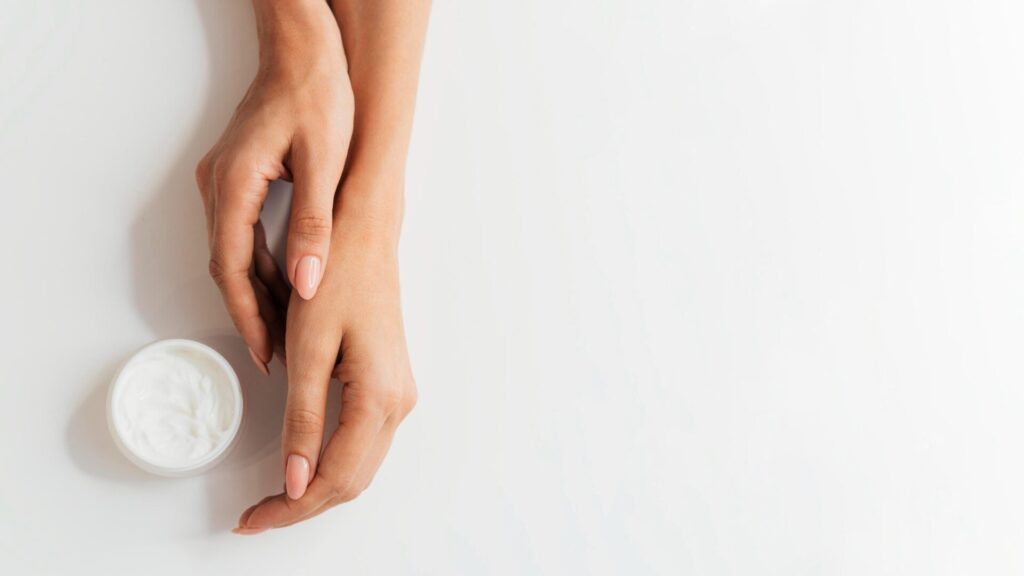
- Final touches: Wash your hands thoroughly, then apply cuticle oil to replenish your skin and nails. This technique ensures that there is no damage to your nails and leaves them well-groomed and ready for the next manicure.
Alternative methods for removal
If you’re looking for an organic approach take a look at these alternatives:
- Warm water and oil Bath: Fill a bowl with warm water, then add the oil in a few drops (like coconut or olive oil). Then soak your nails about 10 minutes. The oil and warmth remove the adhesive and make it easier to cut the strips without difficulty.
- The Plastic Wrap Method: Apply a small amount of nail polish remover onto your nails, wrap your nails in plastic wrap and secure it with the help of a rubber band. Leave it over 15 minutes. The heat and moisture that is trapped allow the strips to soften for easier removal.
These techniques are particularly useful for those who aren’t interested in harsh chemicals or don’t have access to removers based on acetone.
Common mistakes to avoid
Removing gel nail strips in the wrong manner can result in irreparable harm. Avoid these common mistakes:
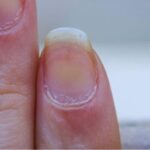
- Peeling Without Soaking The act of trying to remove strips without first softening them could cause the layers of the natural nail to break off, causing the loss of thickness and breaking.
- Utilizing sharp Tools: Sharp objects like knives and metal tools could scratch or harm the nail bed. Make sure to use a soft cuticle stick.
- Doing not moisturize: Removers, specifically Acetone-based ones can cause dryness in your nails. Failure to moisturize your nails after use can make nails dry and susceptible to breakage.
By avoiding these mistakes, you’ll protect the strength and health that your nails have naturally.
Post-Removal nail care
After the strips have been removed, it is vital to take care of your nails to ensure their health.
First, wash your hands to get rid of any traces.
Apply a cuticle oil that is nourishing to moisten the nail area and massage it into the area to increase circulation.
After that, apply a strengthening manicure or keratin-infused base coating to repair any possible damage.
Avoid applying strip or nail polish right away after removal, allowing the nails air.
Maintain your nails neat and filed to avoid splitting.
Applying a hand cream regularly or nail moisturizer may aid in maintaining their health.
Following these steps will ensure that your nails stay solid, shiny and ready for the next manicure.
Cleaning and hydrating the nails
After removing the strips After removing them, clean your hands thoroughly and remove any remaining residue.
The nail’s surface should be buffed lightly to smooth any residue. After that, apply a generous amount of cuticle oil to replenish the moisture as well as strengthen nails.
Hydration is vital to keep your nails healthy following contact with acetone, or removal.
Tips for maintaining nail health
Maintaining your nails regularly is crucial following removal. Do not apply new strips immediately to allow your nails time to heal.
File and trim your nails in order to maintain their form, and apply an emollient for your nails in case they are feeling fragile.
Add a daily soak in warm olive oil and a little water to provide extra nutrition. A healthy nail is the base of a beautiful manicure.
FAQs about semi cured gel nail strips
- How Long Will They Durable? Semi cured gel nail strips generally last 10-14 days, based on application quality and the daily routine.
- Do You Reuse These? Unfortunately, semi curing strips are made for one-time use. If you attempt to reuse them, it could cause a loss of surface and lack of adhesion.
- Are they safe for weak Nails? Yes, however, it is essential to follow the proper procedure for application and removal. Applying a stronger base coat prior to application may provide additional protection.
These FAQs address the most common questions and help you get more of your semi-cured Gel nail application.
Conclusion
Semi-cured gel nail strips are an easy method to create manicure-like nails in your home. Correct removal is crucial for maintaining healthy nails and making sure you have a great experience.
By using the correct techniques, tools and post-removal care you can maintain your nails healthy and beautiful.
By making sure you avoid common mistakes and experimenting with alternatives to removal methods to get the most benefit from this revolutionary nail product while ensuring your natural nails are in good condition.