This article contains affiliate links, which means we may earn a commission if you make a purchase through these links, at no extra cost to you.
how to make press-on nails last ? we got you give this one a couple of minutes and u’ll be able to get stuff done easily
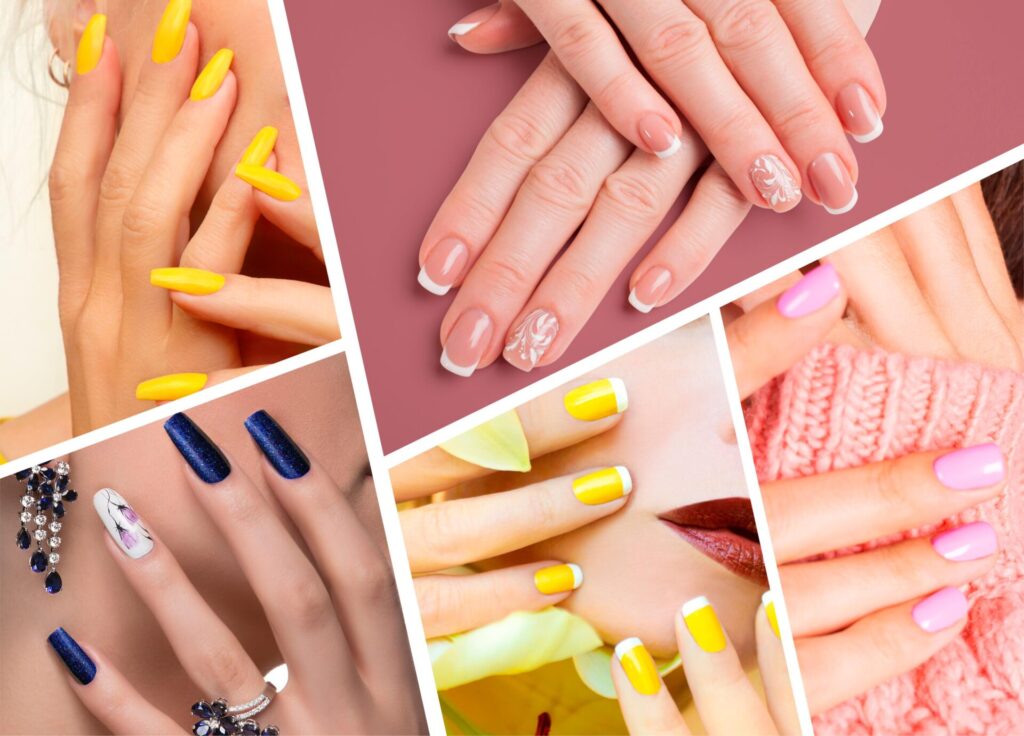
Press‑on nails have become a go‑to option for anyone who wants a fabulous manicure without spending a fortune at the salon.
They’re quick, versatile, and let you switch up your style in a flash.
Yet, if you’ve ever experienced the heartbreak of a press‑on that won’t stick, you know that the secret to success lies not just in choosing the right set, but in mastering the art of application and care.
In this guide, we’ll dive deep into every aspect of press‑on nail longevity.
We’ll cover everything from selecting the perfect press‑on nails and prepping your natural nails, to applying them like a pro, keeping them maintained throughout your busy day, and finally removing them without causing damage.
You’ll find plenty of actionable tips, helpful analogies, and real‑life examples to ensure that your nails stay intact and look amazing for as long as possible.
Choosing the Right Press‑On Nails: Building a Solid Foundation
Before you even think about the application, the journey to long‑lasting press‑on nails starts with the product itself.
Like building a house, a sturdy foundation is essential. If your nails don’t fit well or aren’t of high quality, no amount of preparation or technique will save your manicure.
Find Your Perfect Fit
Imagine buying a pair of shoes that are either too loose or too tight—they just wouldn’t be comfortable, right? The same goes for press‑on nails.
They need to match the size and shape of your natural nails to stay in place and look natural.
- Size Matters: Most press‑on nail kits come with a variety of sizes. Spend some time matching each press‑on to your natural nail. A nail that’s too wide will lift, while one that’s too narrow can feel constricting.
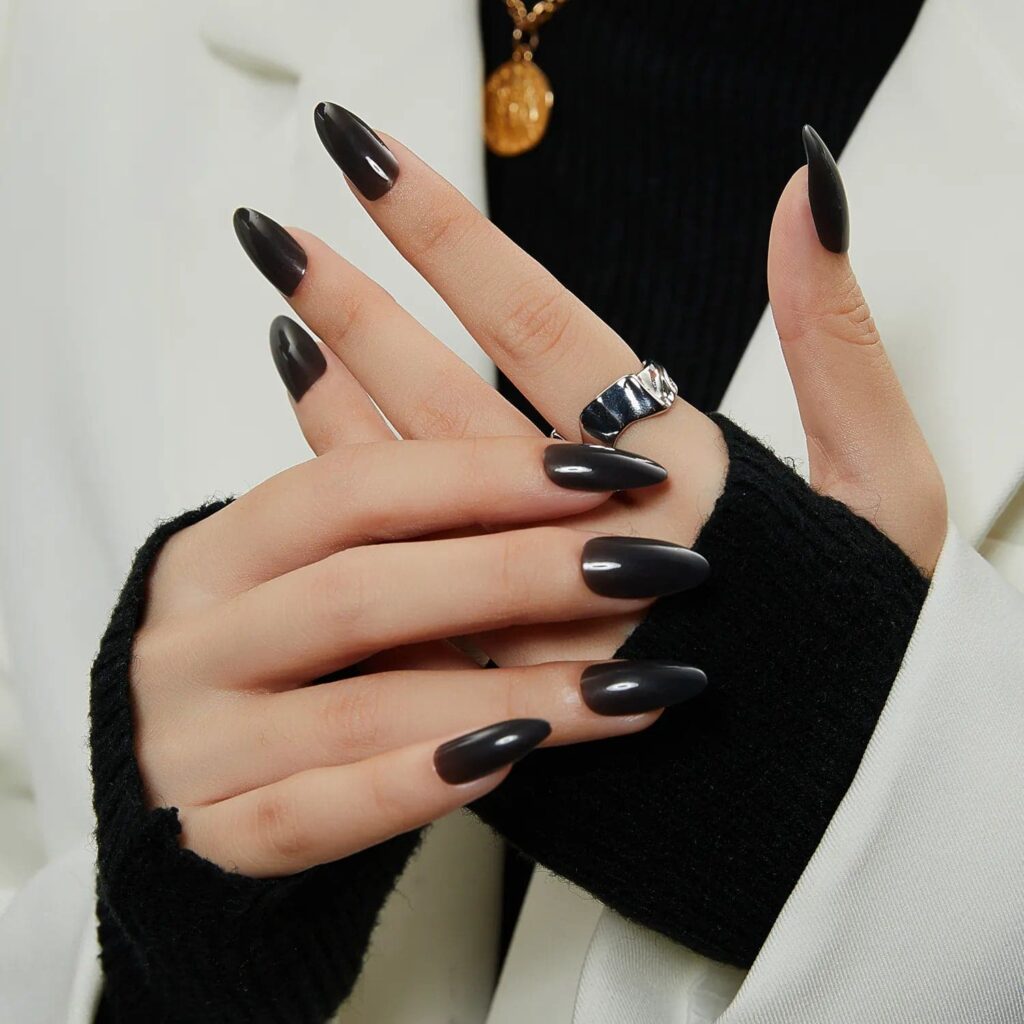
- Shape Selection: Press‑on nails come in various shapes—square, oval, coffin, stiletto, and almond, among others. Think about your lifestyle. For everyday wear, a square or oval nail may be most practical, whereas a coffin shape might be reserved for special occasions when you want to make a statement.
- Adjustments: If you find that the press‑on is just a hair too wide, don’t worry! A simple file or nail buffer can help you adjust the edges so that the nail fits snugly. It’s like tailoring a suit—the better the fit, the more confident you’ll feel.
The Attachment Method: Glue vs. Adhesive Tabs
There are two primary methods for attaching press‑on nails, and choosing the right one can affect how long your nails stay on.
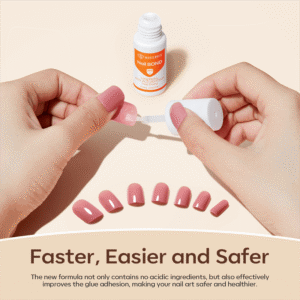
- Nail Glue:
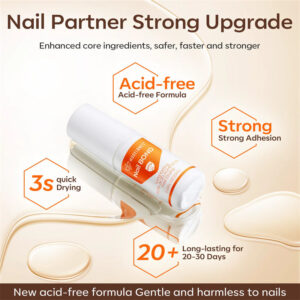
- Pros: Provides a very strong bond and is typically used for long‑term wear (up to 14 days or more). It’s ideal if you’re planning on a busy week and want to avoid any mishaps.
- Cons: Can be a bit messy if you’re not careful, and removal requires soaking, which can sometimes damage your natural nails if done too roughly.
- Adhesive Tabs:
- Pros: Great for a temporary look, as they’re easy to remove and cause less damage. They’re ideal for events when you need a quick change.
- Cons: They usually don’t last as long as glue, often only keeping your nails intact for 1-3 days.
- Hybrid Approach: For those who want a balance of durability and ease of removal, try using a small amount of glue at the base and an adhesive tab on the tip. This method can help prevent lifting while still allowing for easier removal later.
Choose Quality Over Quantity
They’re like investing in a pair of quality sneakers—you pay a little more upfront, and the durability and comfort pay off in the long run.
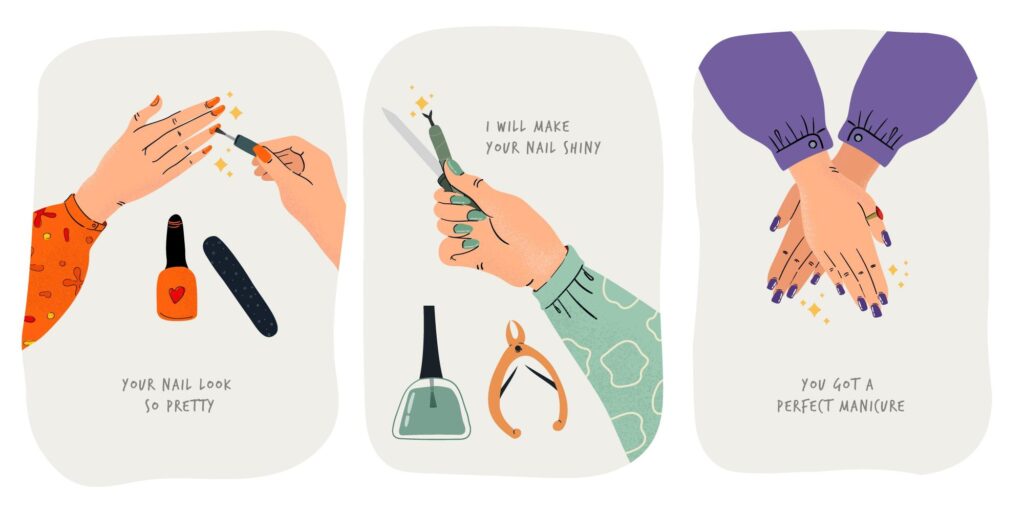
Prepping Your Natural Nails: The Secret to a Sticking Success
Think of your natural nails as the canvas for an artist. No one wants to paint on a dusty, oily surface. Properly prepping your nails is essential to create a clean, smooth foundation for your press‑on nails.
Clean and Dehydrate
Start by thoroughly cleaning your nails. Even the best glue can’t stick if there’s any residue.
- Wash Your Hands: Use warm, soapy water and a gentle scrub to remove dirt and oils. Dry your hands completely.
- Alcohol Wipes: After washing, take an alcohol wipe (or a cotton pad soaked in rubbing alcohol) and gently wipe each nail. This step removes the natural oils that can weaken the adhesive bond.
- Avoid Moisturizers: It might be tempting to moisturize right away, but save the lotion for after your nails are on. Oils from moisturizers can interfere with the adhesion process.
Cuticle Care: Push Them Back
Cuticles can be like the border of a painting—if they’re too thick or unruly, your press‑on nails won’t have a smooth edge to adhere to.
- Gently Push Back: Use a cuticle pusher or an orangewood stick to carefully push back your cuticles. Be gentle; you don’t want to cause any damage.
- Trim Excess: If there’s any overgrown or dead skin, carefully trim it away with cuticle scissors. This creates a neat base that allows your press‑ons to sit flush with your natural nail.
Buffing: Roughen It Up (Just a Little)
Buffing your natural nails creates a slightly rough texture that helps the glue grip better.
- Light Buffing: Use a nail file or buffer to lightly rough up the surface of your nails. You’re not trying to thin your nails, just to create a little “tooth” for the adhesive to latch onto.
- Don’t Overdo It: Over‑buffing can weaken your natural nails, so keep it light. Think of it like sanding a piece of wood before painting—it should be just enough to create a bond.
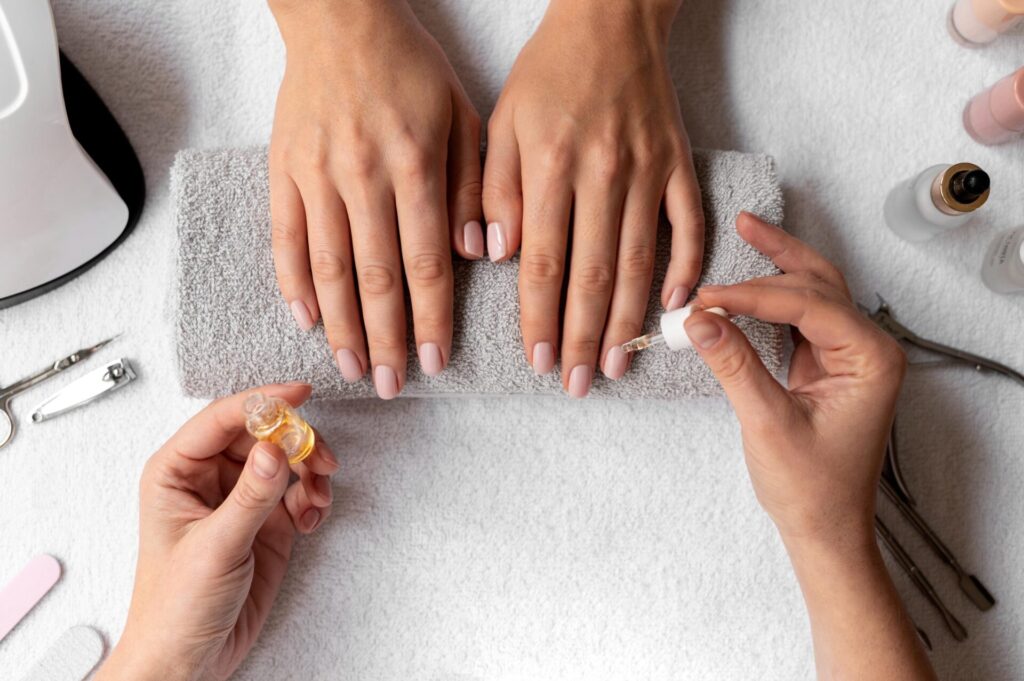
Use a Nail Dehydrator
A nail dehydrator is like a primer for your nails. It removes any remaining moisture and oil, ensuring a stronger bond.
- Apply Evenly: Spray or brush the dehydrator on your nails and let it dry completely. If you don’t have a commercial product, a dab of rubbing alcohol can work as a substitute.
The Art of Application: Setting the Stage for Longevity
Now that your nails are prepped, it’s time to apply the press‑on nails with precision.
Think of this step like installing a new fixture in your home—the process needs to be deliberate to ensure everything stays in place.
The Glue Game: Less Is More (But Not Too Little)
Using the right amount of glue is crucial. Too much, and you risk messy excess; too little, and your nail won’t stick.
- Dot It Out: Instead of applying one big drop, use several small dots of glue on both your natural nail and the press‑on. This technique helps distribute the adhesive evenly.
- Thin Layers: Apply a thin, even layer of glue. It’s like spreading peanut butter on toast—you want just enough to cover the surface without it dripping over the edges.
- Press at an Angle: Start by aligning the press‑on nail at the cuticle (near the base) and then gently press it down while moving towards the tip. This method helps push out any air bubbles, which are the enemy of a strong bond.
Tackling Air Bubbles: The Nemesis of Adhesion
Air bubbles can compromise the bond between your press‑on nail and your natural nail, leading to premature lifting.
- Smooth Application: As you press down the nail, apply firm and even pressure. Visualize it as ironing out wrinkles from a shirt—steady, deliberate pressure will leave a smooth finish.
- Hold Steady: Once you press the nail into place, hold it down for at least 30 to 45 seconds. This ensures that the glue has ample time to set and that any trapped air has time to escape.
Combining Adhesive Methods for Maximum Hold
For those who want extra security, combining glue with adhesive tabs can offer a double‑layer of protection.
- Glue the Base: Apply glue as described above to the natural nail.
- Adhesive Tip: If your press‑on set includes adhesive tabs, place one on the tip of your press‑on nail. This extra bit of stickiness helps keep the nail in place, especially at the edges where lifting is most common.
- Example in Action: Think of it like double‑knotting your shoelaces. The first knot holds everything together, and the second reinforces it to ensure nothing comes undone.
Daily Maintenance: Keeping Your Nails Pristine
Once your press‑on nails are securely in place, proper daily care is key to prolonging their life.
Much like caring for a new piece of furniture, a little maintenance goes a long way.
Guard Against Water and Heat
Water and heat are two common enemies of press‑on nails. They can weaken the adhesive bond over time.
- Wait Before Washing: Allow at least an hour after application before exposing your nails to water. This is especially important if you’ve used glue.
- Use Gloves: When doing dishes or cleaning, wear gloves to protect your nails from water and harsh chemicals.
- Short, Warm Showers: Instead of long, hot showers, opt for brief, warm ones. Prolonged exposure to hot water can soften the glue, leading to premature lifting.
Handle With Care
Everyday tasks can take a toll on your press‑on nails if you’re not careful.
- Mind Your Movements: Be aware of how you use your nails. For instance, use the side of your finger rather than your tip for tasks like opening packages.
- Avoid Using Nails as Tools: It might be tempting to use your nails to scrape off stickers or open cans, but this can cause them to bend or break.
- Example: Consider your press‑ons like a delicate porcelain plate. Even though they’re beautiful, they require gentle handling to avoid chipping or breaking.
Seal the Deal with a Topcoat
Applying a clear topcoat over your press‑on nails can provide an extra layer of protection against chipping and lifting.
- Choose the Right Topcoat: Look for a non‑yellowing, chip‑resistant formula that’s designed for artificial nails.
- Apply Evenly: Brush a thin layer over your nails once they’re fully set. This not only enhances their shine but also seals the edges, making it harder for water and oils to seep in.
Extending the Life of Your Press‑On Nails: Extra Tips and Tricks
Even with perfect application, everyday wear and tear can take a toll on your press‑on nails. Here are some expert tips and creative analogies to help you extend their lifespan.
The Emergency Glue Trick
Sometimes, despite your best efforts, a nail may start to lift. Think of it as a small leak in an otherwise sturdy boat.
- Carry a Mini Glue Bottle: Keep a travel-sized nail glue in your purse or makeup bag. A tiny drop applied to a lifting edge can secure the nail back in place.
- On‑the‑Go Fix: If you’re out and about and notice a slight lift, press it down immediately. It’s like patching a tire before the leak becomes a flat.
Fixing Chips and Cracks
Occasionally, you might encounter a chip or crack—especially if you’re handling everyday tasks.
- File It Down: For minor chips, use a fine‑grit nail file to gently smooth the area.
- Reapply Topcoat: After filing, reapply a thin layer of topcoat to seal the repair. This is similar to touching up a scratch on your car with a matching paint—small imperfections can be quickly camouflaged with a bit of care.
Strengthening Your Natural Nails
Healthy natural nails provide a better base for your press‑on application. Investing time in nail health can pay dividends.
- Nourish with Oils: Once you’ve removed your press‑ons, treat your nails to some cuticle oil or a nail strengthening serum.
- Weekly Breaks: Consider giving your natural nails a break between applications. This allows them to recover and prevents weakening from continuous use of adhesives.
- Analogy: Think of it like a smartphone battery—you wouldn’t want to run it at 100% capacity all the time without recharging, right? Your nails need occasional downtime to remain healthy.
Safe Removal: Preserving Your Natural Nails
Removing press‑on nails can be as critical as applying them. Improper removal can damage your natural nails, leaving them weak and brittle.
The Soak Method
Soaking is the most popular and safest method to remove press‑on nails without causing harm.
- Warm Soapy Water: Fill a bowl with warm water and a few drops of gentle soap. Soak your nails for 15‑20 minutes until the glue softens.
- Acetone Soak (For Stubborn Glue): If your nails are particularly stubborn, soak a cotton ball in acetone and place it on your nail. Wrap each finger in a small piece of foil and leave it for 10‑15 minutes. Acetone works quickly but be sure to moisturize your nails afterward.
- Gently Wiggle: Once the glue has softened, gently wiggle the nail from the side. It should come off without much force. If it resists, soak a little longer.
Avoid Forceful Removal
Forcefully ripping off your press‑on nails is like yanking a bandage off a wound—it might work, but it’ll hurt and cause damage.
- Use an Orangewood Stick: If you need a little help, use an orangewood stick to gently lift the edge of the nail. Work slowly and patiently.
- Patience Is Key: If a nail doesn’t come off easily, return to the soak method. Remember, protecting your natural nails is the ultimate goal.
Post‑Removal Nail Care
Once your press‑on nails are off, your natural nails need a little TLC.
- Buff Away Residue: Use a gentle nail buffer to remove any leftover glue.
- Moisturize: Apply cuticle oil and a nourishing hand cream to rehydrate your nails.
- Give Them a Break: Consider leaving your nails bare for a day or two to let them recover fully.
Lifestyle and Environmental Considerations
Your environment and daily habits play a significant role in how long your press‑on nails will last. By adjusting small habits, you can extend the life of your manicure.
Daily Tasks and Press‑Ons
If you work with your hands or have a busy lifestyle, consider these extra tips:
- Household Chores: When cleaning or doing dishes, wear gloves to protect your press‑on nails from water and detergents.
- Keyboard Warriors: If you type a lot, take short breaks to avoid constant pressure on your nails. Use a light touch when tapping on your keyboard.
- Exercise Caution: During activities like gardening or any exercise that may involve impact on your hands, consider protective measures like finger guards.
Climate and Seasonal Factors
Weather and temperature can affect the adhesive properties of your press‑on nails.
- High Humidity: In humid environments, the extra moisture in the air can weaken glue. Use a nail dehydrator before application and avoid exposing your nails to water for extended periods.
- Cold Weather: In colder temperatures, adhesives can sometimes become brittle. Allow your nails to acclimate to room temperature before applying any press‑ons.
- Seasonal Adjustments: For winter months, be extra diligent with moisturizing your cuticles after removal, as the cold can leave your nails dry and more prone to damage.
Real‑Life Examples and Success Stories
Let’s break down a few scenarios and success stories from nail enthusiasts who transformed their press‑on routine with these expert tips.

Emily’s Transformation
Emily, a busy graphic designer, used to struggle with her press‑on nails falling off by mid‑day.
After learning about proper nail prep and the hybrid glue/adhesive method, she found her nails could withstand long hours at the office and even a yoga class without lifting.
By simply adjusting her routine—using an alcohol wipe before application and a topcoat after—the longevity of her manicure improved dramatically.
Emily’s story is a testament to how small changes can lead to big improvements.
Carlos’s “Nail Hack” Moment
Carlos, a college student with a tight budget, shared his secret for press‑on longevity on social media. He always carried a mini glue bottle in his backpack.
One day, when he noticed one nail starting to lift during a long day of classes, he discreetly fixed it during a break.
His friends were amazed by the “on‑the‑go” fix, and his hack soon went viral. Carlos reminds us that a little foresight can save your day—and your manicure!
Sarah’s Seasonal Shift
Sarah loves changing her nail art with the seasons. However, during the rainy spring months, she noticed her press‑ons didn’t last as long.
By switching to a more robust glue, applying a nail dehydrator before application, and sealing her nails with a quality topcoat, she was able to enjoy her seasonal designs without worry.
Her experience highlights the importance of adapting your technique to environmental conditions.
Advanced Tips for Nail Enthusiasts
For those who are ready to take their press‑on game to the next level, here are some advanced tips that nail experts swear by.
Layering Techniques
- Double Glue Application: For an ultra‑strong bond, some experts recommend applying a first thin layer of glue, letting it become tacky, and then applying a second thin layer before pressing the nail on. This method, much like layering paint, builds a more durable adhesive layer.
- Layer Your Topcoat: Instead of a single layer, apply two thin coats of topcoat. Allow each layer to dry completely before applying the next. This creates a sealed barrier that resists chipping and lifting.
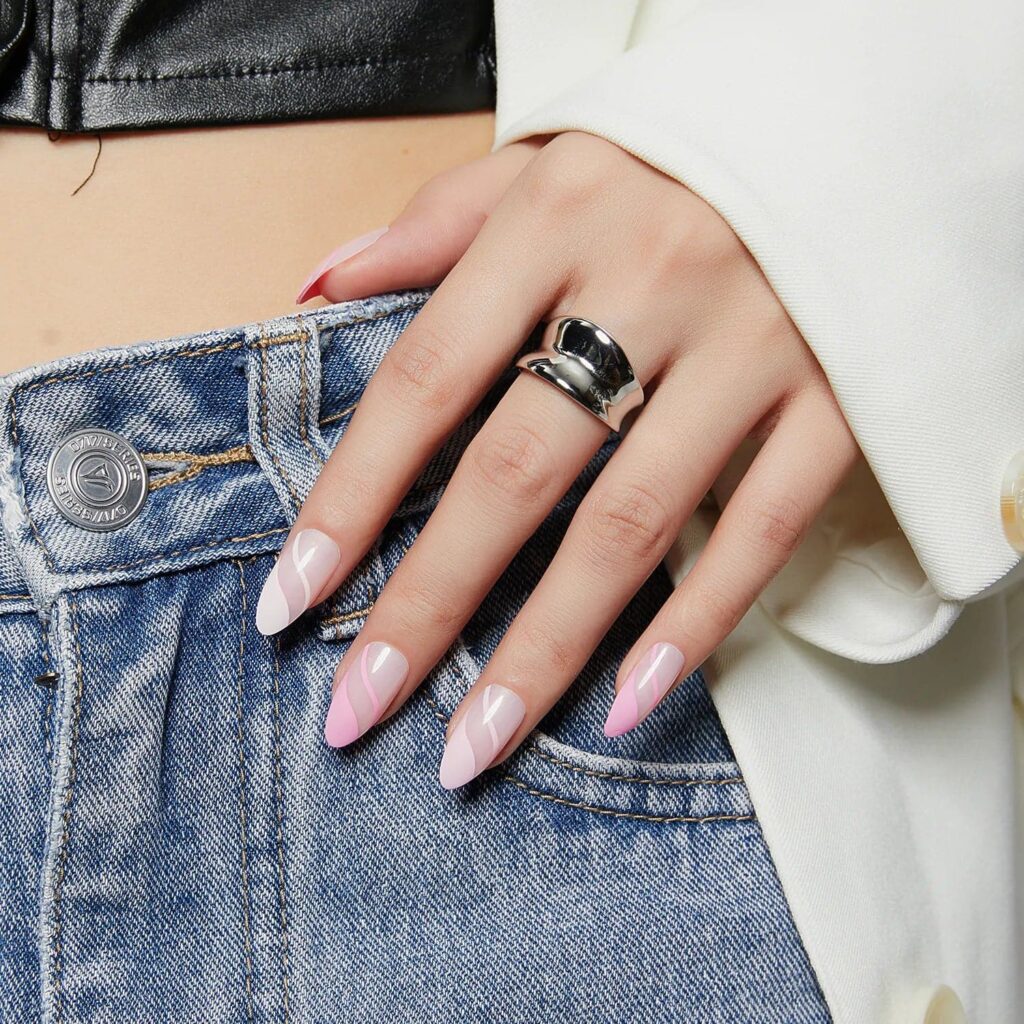
Customization for Personal Style
- File and Shape: Don’t be afraid to file the edges of your press‑on nails to create a custom look that perfectly matches your style. Custom shaping can also help your nails sit more comfortably and securely on your natural nails.
- Decorative Overlays: If you’re feeling creative, consider adding a decorative overlay with a clear gel or even nail stickers on top of your press‑on nails. This not only enhances the design but can add another layer of protection against everyday wear.
Educate Yourself
The nail industry is constantly evolving, with new products and techniques emerging all the time. Follow nail experts on social media, subscribe to beauty blogs, and stay updated on the latest trends.
Knowledge is power—and it can keep your press‑on nails looking salon‑perfect longer.
Troubleshooting Common Problems
Even with the best preparation and techniques, you might run into issues from time to time. Here’s how to troubleshoot some common problems:
Nails Lifting Too Soon
- Possible Causes: Insufficient nail prep, too much oil on your natural nails, or an uneven application of glue.
- Solutions: Revisit your nail prep routine—ensure your nails are thoroughly cleaned and dehydrated. Try using a little more glue or consider the hybrid method (glue plus adhesive tabs).
Air Bubbles Under the Nails
- Possible Causes: Applying the press‑on too quickly or without proper pressure.
- Solutions: Reapply the nail carefully, pressing from the cuticle toward the tip to force out any trapped air. If you notice bubbles while your nails are drying, gently smooth them out with your finger or a tool designed for nail application.
Press‑Ons Chipping or Cracking
- Possible Causes: Weak glue, overexposure to water, or using nails as tools.
- Solutions: Use a high‑quality, chip‑resistant topcoat. Remember to protect your nails during daily tasks by using gloves or being mindful of pressure. If a nail does chip, file down the rough edges and reapply a protective topcoat.
Final Thoughts: Empowering You to Nail It!
There’s something empowering about being in control of your look. By mastering the art of making press‑on nails last, you’re not just saving time and money—you’re also expressing your unique style and creativity without compromise.
Remember, a flawless manicure is about the details: starting with a quality product, preparing your natural nails like a pro, applying your press‑ons carefully, and following up with diligent maintenance and care.
Think of your press‑on nails as a mini work of art.
Just as a painter prepares a canvas and selects the right brushes and colors, you too must invest a little extra time and effort to ensure your nails remain beautiful and durable.
Every step—from cleaning and buffing to the final topcoat—is like a brushstroke that contributes to the masterpiece that is your manicure.
Whether you’re heading off to work, meeting up with friends, or just enjoying a night in, having long‑lasting press‑on nails can boost your confidence and keep you looking polished.
The techniques and tips in this guide are not just theoretical—they’re practical, proven, and designed for everyday use.
With a little practice, you’ll become adept at applying and caring for your press‑on nails, ensuring they stay gorgeous no matter what your day throws at you.
So, go ahead and experiment with different shapes, designs, and brands until you find what works best for you.
Embrace the learning process and remember that every successful press‑on application is a step toward becoming your very own nail expert.
Recap of Actionable Tips
To sum up, here are the key actionable tips from our guide:
- Choose the Right Product:
- Match the size and shape of your press‑on nails to your natural nails.
- Opt for high‑quality brands and consider the glue vs. adhesive tab method.
- Adjust the fit with a nail file if necessary.
- Prep Like a Pro:
- Clean your nails thoroughly with soap, water, and alcohol wipes.
- Gently push back cuticles and trim excess skin.
- Buff your nails lightly and use a nail dehydrator to remove any oil.
- Master the Application:
- Apply glue in small dots and use a thin, even layer on both surfaces.
- Press the nail on at an angle from the cuticle toward the tip.
- Hold the nail firmly for at least 30‑45 seconds to set the bond.
- Maintain Your Manicure:
- Avoid prolonged exposure to water; wear gloves during chores.
- Use a protective topcoat to seal in the manicure.
- Be gentle during daily tasks and consider a hybrid adhesive method for extra security.
- Extend Your Nail Life:
- Keep a mini glue bottle for emergency touch‑ups.
- File away any chips and reapply topcoat if needed.
- Adjust your routine seasonally and based on your lifestyle.
- Remove With Care:
- Soak your nails in warm soapy water or acetone for stubborn glue.
- Avoid forcefully pulling the nails off; use an orangewood stick if needed.
- Post‑removal, buff away residue and moisturize your natural nails.
- Adapt and Experiment:
- Layer your glue and topcoat for a stronger hold.
- Customize the shape and design of your press‑on nails to suit your style.
- Stay informed by following nail experts and trying new products.
Conclusion
Making your press‑on nails last isn’t just about luck—it’s about applying a series of thoughtful steps, much like following a recipe for your favorite dish.
With the right foundation, careful application, and consistent maintenance, your press‑on nails can remain a stunning accessory for up to two weeks or more.
Remember, every great nail application starts with a little preparation and ends with diligent care.
So, grab your favorite nail kit, set aside some time for self‑care, and get ready to embrace a world where your nails stay picture‑perfect—no matter what.
By following this guide, you’re not just applying press‑on nails; you’re mastering a craft.
Enjoy the journey, experiment with new techniques, and most importantly, have fun while looking fabulous!
Now that you’re armed with expert knowledge and actionable strategies, it’s time to put these tips into practice.
Go ahead and transform your press‑on routine from a fleeting beauty experiment into a reliable, long‑lasting art form. Happy manicuring, and here’s to nails that truly last!