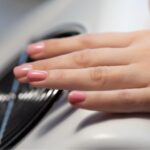
The Acrylic Nail Struggle is Real
Acrylic nails are a bold, long-lasting way to express yourself, but eventually, the need to remove them comes.
Whether you’re feeling ready to give your nails a breather, dealing with damage, or simply want a fresh start, there are a few key reasons why you might want to take them off.
First, if your acrylic nails are lifting or starting to cause discomfort, it’s time to consider removal to avoid possible infection or damage to your natural nails.
Also, if you’ve had acrylics for a long time, your nails might feel weakened or thin from the constant layer of acrylic—giving them a break can help them bounce back to health.
Plus, sometimes we just want a change! Whether it’s a new season, new nail trends, or simply a desire for something more natural, there’s no shame in switching things up.
What You Need Before You Begin: How to Get Acrylic Nails Off the Right Way
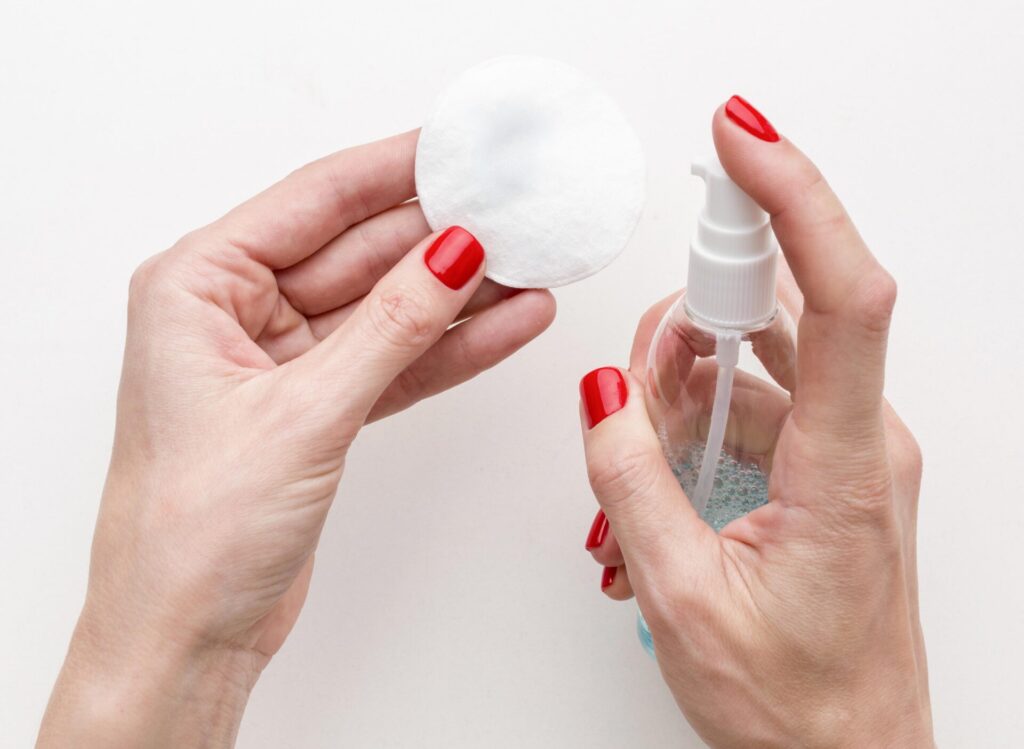
Before you dive into acrylic nail removal, preparation is key to making the process smooth and damage-free. First, you’ll need a few essentials: acetone (or an acetone-based remover), nail file or buffer, cuticle oil, and cotton balls or pads.
Acetone is the heavy hitter in dissolving acrylics, so choose pure acetone for the fastest and most effective removal.
You’ll also need a nail file or buffer to gently break the top surface of the acrylic and thin it out for easier removal.
Nail clips or foil wraps are helpful to keep your nails soaked in acetone, ensuring the product does its job.
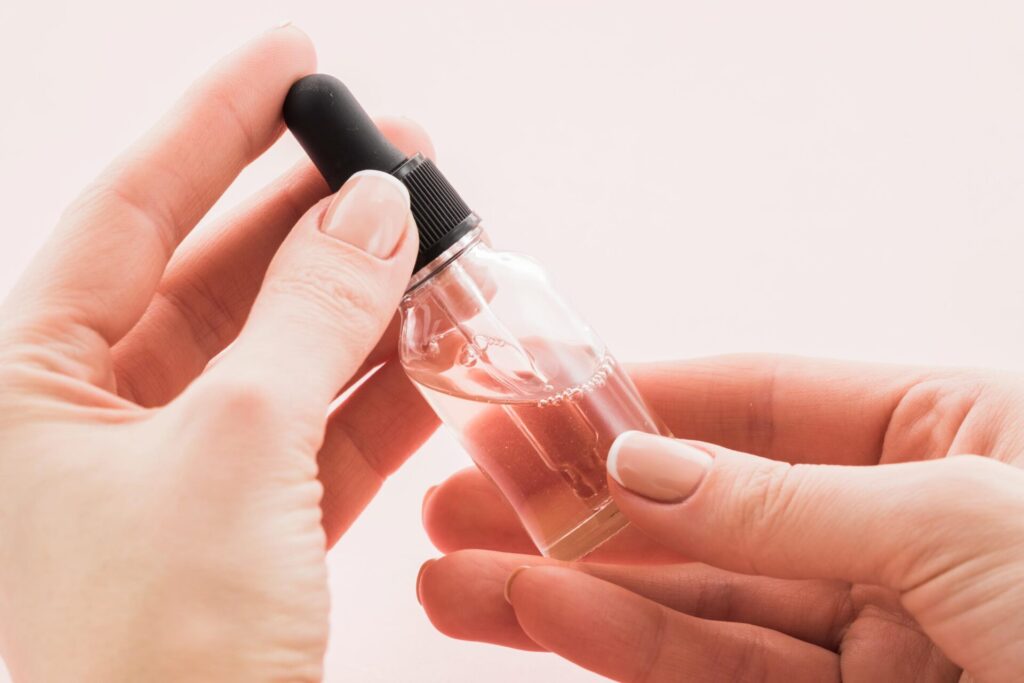
Don’t forget cuticle oil or a rich hand lotion to nourish and rehydrate your nails afterward—they’ll be in need of some TLC once the acrylics are off!
Having these supplies ready will make the process more comfortable and help protect your natural nails from unnecessary damage.
How to get acrylic nails off
Soaking Method
Acetone Removal Technique
Buffing Method
Professional Removal

Soaking Your Way to Freedom
")
The Step-by-Step Guide to Soaking Off Acrylic Nails
Soaking off acrylic nails is one of the gentlest methods for removal, but it takes a little patience.
First, gather your supplies: a bowl, acetone, cotton balls or pads, and aluminum foil. Start by filing the top layer of the acrylic gently with a nail file to break the seal.
This will allow the acetone to penetrate more effectively.
Soak the cotton balls or pads in acetone, place them directly onto your acrylic nails, and then wrap each finger with a piece of aluminum foil to hold the cotton in place.
This helps create a warm, enclosed environment, allowing the acetone to work its magic and break down the acrylics.
Leave them on for about 15-20 minutes—don’t rush it! After the soak, you’ll notice the acrylic starts to lift off.
Gently push the acrylics off with a cuticle pusher, avoiding any forceful scraping. The key is patience—if the acrylics aren’t coming off easily, soak for a little longer, but never pull or tug!
How to Avoid Damage to Your Natural Nails
While soaking off acrylics is a relatively safe method, it’s crucial to take steps that will minimize damage to your natural nails.
Always avoid the temptation to force off the acrylics—doing so can tear or peel your natural nail.
The acetone will soften the acrylic, but it can also dry out your natural nails, so it’s essential to moisturize them afterward with cuticle oil or a nourishing nail cream.
Another tip is to never file the acrylics too aggressively before soaking, as excessive filing can weaken your nails.
If you have any spots where the acrylic is stubbornly stuck, don’t force it—just re-soak that area until it softens enough to remove without damaging your nail.
Keeping your natural nails protected during the whole process is vital for maintaining nail health, so take it slow and care for them in between sessions.
Pro Tips for a Smooth Process
For the best results, keep a few pro tips in mind during your acrylic removal.
First, make sure you’re using high-quality acetone—some formulas can take longer to work, causing you to soak your nails for too long.
If you’re really looking to speed up the process, you can warm the acetone slightly by placing the bowl in a larger container of warm water.
But be cautious with the heat, as acetone is highly flammable! Another key tip is to be patient—if the acrylic isn’t coming off after the first soak, don’t rush it.
Re-wrap your nails and allow more time for the acetone to break down the product. Consider using a buffer after the removal process to smooth out any rough spots left behind.
Finally, always treat your nails with love post-removal by hydrating them with nourishing oils and creams to restore moisture and strength.
With a bit of care and these tips, your acrylics will come off smoothly without causing harm to your natural nails.
The Acetone Removal Technique
Getting the Right Tools for the Job
When it comes to removing acrylic nails, having the right tools is essential for making the process as smooth and safe as possible.
First, start with acetone—this is the star of the show. Look for 100% pure acetone (not the watered-down version) as it works much faster and is more effective at breaking down acrylics.
Next, you’ll need a nail file or buffer to gently buff the top layer of the acrylic, which will help the acetone penetrate better.
Cotton balls or pads are crucial for soaking, while aluminum foil will help keep everything in place as you soak your nails.
If you want a more hands-off approach, nail clips are a great alternative to foil. They hold the cotton pads soaked in acetone directly onto your nails, making the process even easier.
Don’t forget to have cuticle oil or a rich moisturizer on hand for aftercare.
Investing in these tools will not only make the removal process easier, but it will also protect your natural nails from unnecessary damage.
Acetone: Your Best Friend in Nail Removal
Acetone is the powerhouse ingredient you’ll need for removing acrylic nails. As a solvent, it works by breaking down the acrylic material, softening it until it can be easily scraped off.
But as much as it’s your best friend, it’s important to use it the right way!
Acetone is highly effective, but it’s also harsh on your skin and nails, so always make sure you’re using it in a well-ventilated area.
Pure acetone is ideal for the fastest and most thorough removal. It might seem like a no-brainer, but many people opt for the cheaper, diluted version and end up frustrated with how long the process takes.
To speed up the removal, try soaking your cotton balls or pads in acetone, then wrapping them securely on your nails with aluminum foil or nail clips.
The acetone will start dissolving the acrylic within minutes, but you’ll need to let it work its magic for around 15-20 minutes.
With patience and the right acetone, your acrylic nails will be gone without damaging your natural nails.
A Foolproof Guide to Using Acetone Safely
While acetone is a must-have for acrylic nail removal, using it safely is essential for protecting your nails and skin.
First, always make sure to do the process in a well-ventilated space.
Acetone fumes can be strong and overwhelming, so opening windows or using a fan can help keep the air fresh.
Be mindful of your skin, as acetone can dry out your fingers and surrounding areas.
It’s a good idea to apply a thin layer of petroleum jelly or cuticle oil around your nail beds before soaking.
This will act as a barrier and help prevent the acetone from causing irritation or dryness.
If you’re using acetone-soaked cotton balls or pads, be sure to wrap them tightly with aluminum foil or use nail clips to secure them in place so the acetone doesn’t evaporate.
After soaking, make sure to gently push off the acrylic—never force it off, as this could damage your natural nails.
Once the acrylic is removed, hydrate your nails with a nourishing oil or lotion to restore moisture and keep them strong.
With these tips, acetone will be your ally in the removal process without causing harm to your nails.
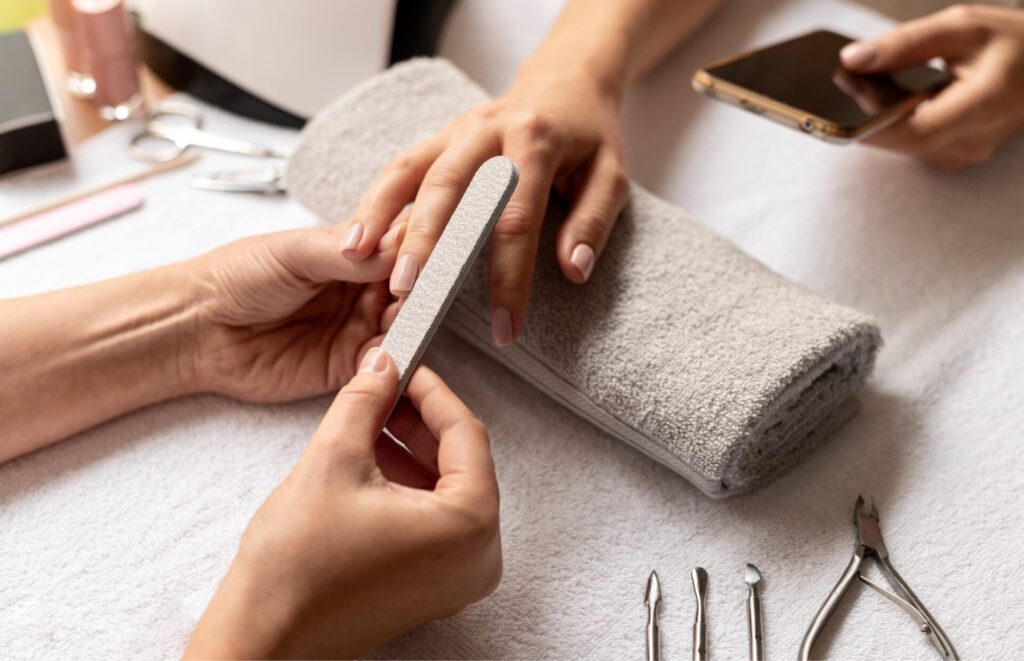
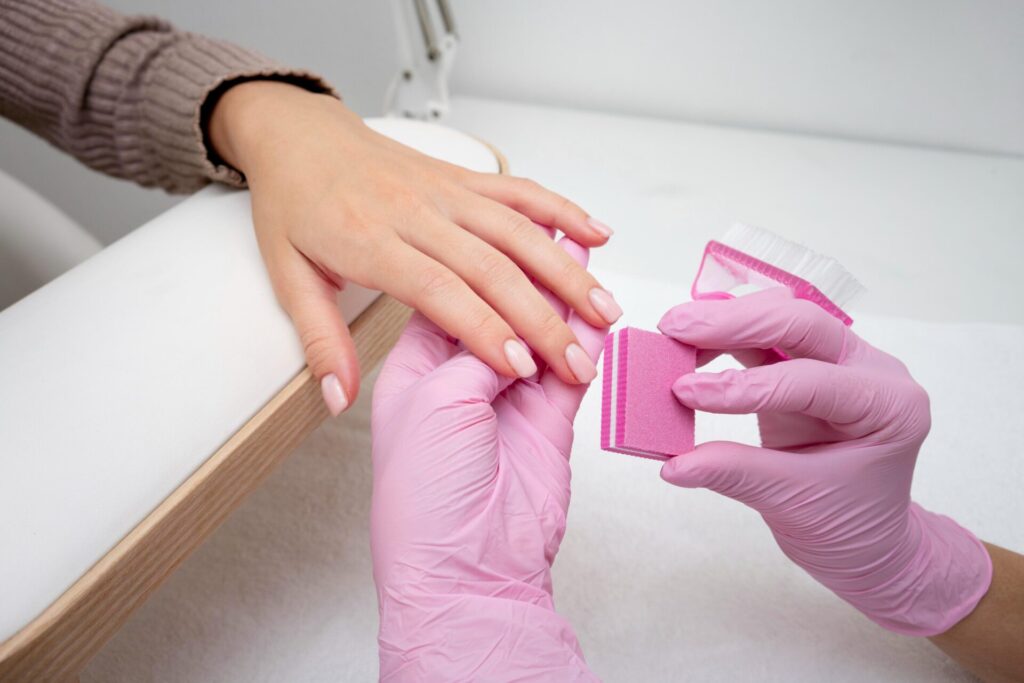
The DIY Buffing Method
Nail Buffing
When Soaking Isn’t Enough: Buffing Acrylic Nails Away
Sometimes, soaking alone isn’t enough to completely remove acrylic nails, especially if they’re thick or have multiple layers.
This is where buffing comes in as a useful method to speed up the process. Buffing works by gently filing down the acrylic, reducing its thickness and making it easier for acetone to break through. However, it’s essential to approach this step carefully.
Start by using a coarse nail file to gently file the surface of the acrylic nail. Don’t press too hard or aggressively, as this can harm your natural nail underneath.
Focus on removing the shiny top coat first, which will allow the acetone to soak in more effectively during the next step.
You can follow up with a finer grit buffer to smooth the surface and make the nails more manageable.
Buffing can be a great alternative if your acrylic nails are stubborn, but make sure to take it slow, avoid over-filing, and give your nails breaks in between to prevent damage.
Tips and Tricks for Gentle Buffing
Buffing is all about technique, and if done gently, it can make a world of difference when removing acrylics. Here are a few tips to ensure the process is safe and effective:
- Start Slowly: Use a coarse file (around 100-grit) to carefully file down the acrylic. Work in short strokes and avoid using excessive force. The goal is to thin the acrylic, not to grind it down to the natural nail.
- Take Breaks: If you feel like you’re pushing too hard, pause for a moment. Give your nails a break to avoid excessive damage. Rushing through buffing can weaken your natural nails, so pace yourself.
- Use the Right Tools: Invest in a nail buffer block with multiple levels of grit, from coarse to fine. The coarse side helps remove the bulk of the acrylic, and the finer side smooths out the edges and reduces any roughness left behind.
- Soak After Buffing: Once you’ve filed down most of the acrylic, it’s a good idea to re-soak your nails in acetone for 10-15 minutes to loosen up any remaining product. This ensures a smooth removal with minimal scraping.
- Don’t Buff Your Natural Nails: It’s easy to get carried away, but avoid filing your natural nails. Focus solely on the acrylic layer, and if you accidentally buff too much into the natural nail, stop immediately to prevent thinning or injury.
Protecting Your Natural Nails in the Process
Rushing the process or pulling at the acrylic can cause your natural nails to peel or even break.
One of the most crucial steps in protecting your nails is moisturizing.
Be sure to keep a nourishing cuticle oil or a thick hand cream on hand to rehydrate your nails and skin after every step
Apply it generously after soaking and buffing to help restore moisture and prevent your nails from becoming brittle.
Additionally, applying a layer of petroleum jelly around your cuticles and the skin of your fingers before starting the removal process can act as a protective barrier against acetone, keeping your skin from drying out.
The Professional Removal
When to Call in the Experts
While DIY acrylic nail removal can work for many, sometimes it’s best to call in the experts, especially if you’re dealing with stubborn acrylics or if your natural nails have been weakened from long-term wear.
If you notice any signs of infection, like redness or swelling around the nail bed, or if the acrylics are lifting or causing discomfort, it’s time to book a professional appointment.
A nail tech can safely remove the acrylics without damaging your natural nails and help ensure your nails stay in top shape.
Additionally, if you’re unsure about your nail health or don’t feel comfortable handling the removal yourself, a salon visit is always a good choice.
Professionals can assess the condition of your nails and provide advice on how to proceed.
When in doubt, trust the pros to avoid unnecessary harm and give your nails the care they need.
What to Expect at the Salon
When you visit a nail salon for acrylic nail removal, the process is much more streamlined and efficient than doing it at home.
First, the technician will typically assess the condition of your nails to determine the best method for removal.
They might soak your nails in acetone to loosen the acrylics, or in some cases, they may use a specialized gel or tool to safely lift them off.
Expect to have your nails gently buffed down or filed to help with the process. Throughout the procedure, the technician will be mindful of the health of your natural nails, using professional-grade products and tools to minimize any damage.
After the acrylics are removed, they will likely apply a nourishing cuticle oil or a strengthening treatment to restore moisture and promote nail health.
It’s a more thorough and gentle experience, ensuring your nails leave looking fresh, clean, and healthy.
The Benefits of Professional Care
Opting for professional care when removing acrylic nails comes with a range of benefits.
First and foremost, nail technicians are trained to handle acrylics safely, ensuring your natural nails stay intact and unharmed throughout the process.
They have access to high-quality products and tools that make removal quicker and more effective, without causing damage.
Professionals can also provide expert advice on the condition of your nails and suggest treatments to strengthen and nourish them afterward.
If you’ve experienced any issues, such as lifting or damage, a technician can help you address the problem and recommend the best next steps.
Finally, having your nails professionally removed means less stress on your part—you won’t have to worry about over-soaking or accidentally harming your nails, making it a hassle-free experience that leaves your nails looking and feeling their best.
Nail Care Post-Acrylic Removal
After you’ve removed your acrylic nails, it’s important to give your natural nails some extra care and attention.
Acrylics, while gorgeous, can sometimes leave your nails feeling fragile, thin, or weak. This is when a solid aftercare routine becomes crucial.
Start by hydrating your nails and cuticles with a nourishing oil or cream. This will help replenish the moisture that acetone and acrylics may have stripped away.

Avoid applying polish right away—your nails need time to breathe and recover.
Consider letting them go bare for a while to give them the best chance to regenerate and regain strength.
If your nails feel rough or uneven after removal, buff them gently to smooth out any imperfections without over-buffing.
Finally, keep a nail-strengthening regimen in place, incorporating products that help restore strength and prevent breakage.
Rock Your Natural Nails with Confidence!
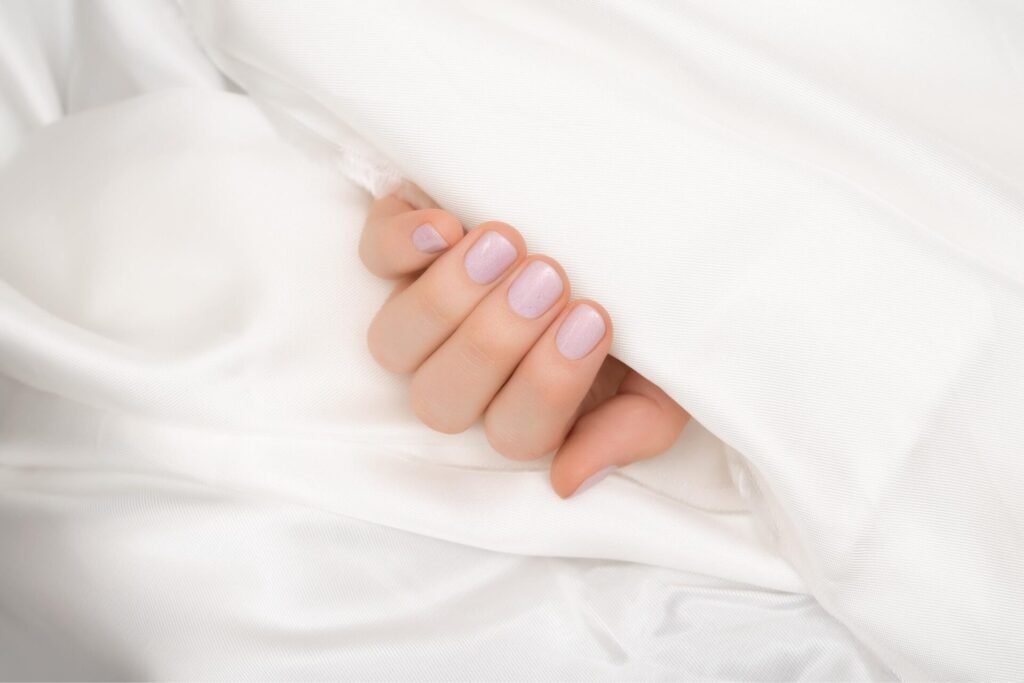
Natural nails have a charm and elegance that’s all their own—and giving them the proper care and attention can make them just as stunning as any artificial set.
Plus, without the weight and pressure of acrylics, your nails can grow longer and stronger over time.
Keep things simple with a fresh coat of clear polish or a minimalistic design that highlights the natural shape of your nails
Taking care of your nails isn’t just about the removal process—it’s about maintaining them so they stay healthy, strong, and beautiful in the long run.
With the right aftercare and a little patience, your natural nails can shine even brighter than any acrylics ever could.