Gel manicures can be incredibly satisfying shiny, long-lasting, and resistant to chips.
But when your gel starts lifting within a few days or never fully hardens, chances are the problem lies in how you’re using your UV nail lamp.
From curing time errors to bad prep, even small missteps can ruin an otherwise perfect set.
Whether you’re new to DIY gel or simply want to make your manicures last longer, this guide will help you avoid the most common UV lamp mistakes.
And if you think your curing tool might be part of the problem, we’ll show you where to find the best UV nail curing lamps to get professional results at home.
Using the Wrong Lamp
Not every UV lamp works with every type of gel. Some gel polishes are LED only, others require UV, and many work best with dual light options.
Using the wrong type of lamp means your gel won’t cure properly it may stay tacky, peel off early, or appear cured but feel soft underneath.
The fix? Always check your gel polish packaging or brand site to see what kind of light it needs. Dual UV/LED lamps are a great catch-all solution, especially if you switch between brands.
Curing for the Wrong Amount of Time
A major issue in gel manicures is improper curing time. Undercuring leaves your polish soft and prone to peeling, while overcuring can make it brittle or cause uncomfortable heat spikes during the process.
Stick to the manufacturer’s timing recommendations usually 30 to 60 seconds for LED, and 90 to 120 seconds for traditional UV lamps. If your lamp doesn’t have a built-in timer, use your phone to stay consistent.
Applying Polish Too Thick
Thick layers might feel like a shortcut, but they prevent light from reaching the deeper layers of polish. This leads to bubbling, wrinkling, and poor curing.
Apply thin, even coats of gel polish. If you need extra opacity, apply more layers—just make sure you’re curing each one fully before moving on to the next.
Skipping Nail Prep
You could have the best gel polish and the most expensive lamp, but if your nails aren’t properly prepped, the polish won’t stick. Natural oils, dust, or leftover polish will interfere with adhesion.
Start with clean hands, push back your cuticles, buff the surface lightly to remove shine, and wipe down each nail with isopropyl alcohol before applying your base coat. This simple routine goes a long way in extending the life of your gel manicure.
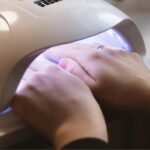
Bad Hand Positioning in the Lamp
Even if you’re using the right lamp and curing for the right time, poor positioning can lead to partial curing—especially for your thumbs or pinkies.
Make sure your hand is flat, relaxed, and centered in the lamp. Avoid curling your fingers or angling your wrist. If needed, cure thumbs separately to make sure they get full exposure.
Not Capping the Edges
Capping the edge of the nail is one of the simplest but most overlooked steps in gel application. Without it, your manicure is more likely to chip or peel at the tips.
After applying each layer especially the base and top coat gently swipe the brush across the free edge of the nail. This seals the tip and helps protect your manicure from everyday wear and tear.
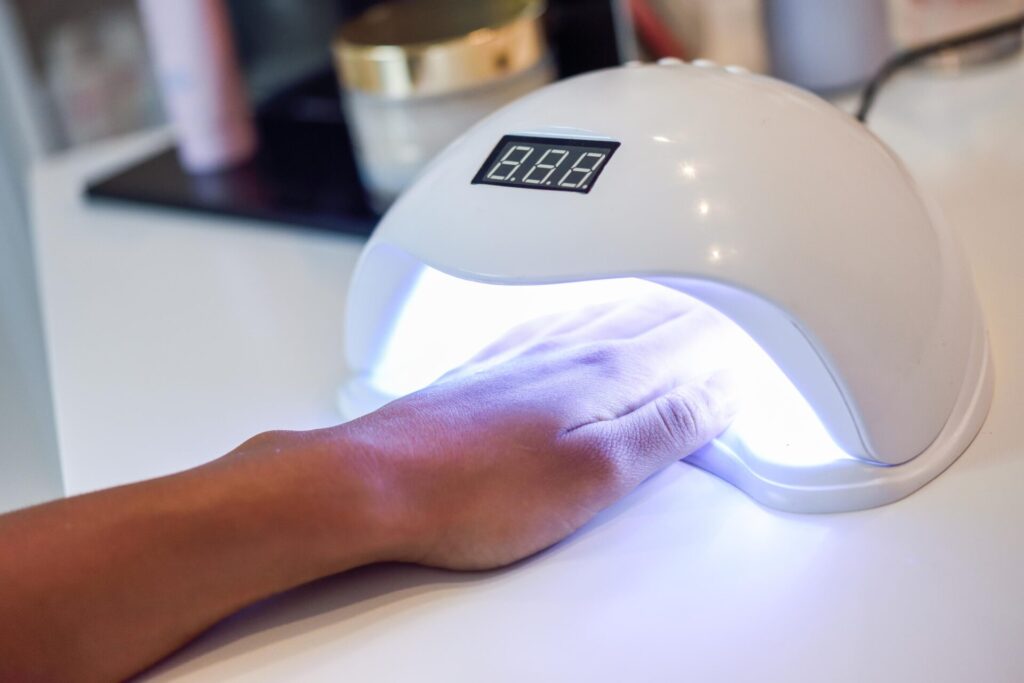
Using an Old or Weak Lamp
Just because a lamp turns on doesn’t mean it’s curing your gel effectively. UV bulbs weaken over time, and even LED lamps lose effectiveness after a few years of use.
If your gel suddenly stops curing like it used to, your lamp might be to blame. UV bulbs should be replaced every 6 to 12 months.
LED lamps tend to last longer, but if you’ve had yours for 2 or more years, it might be time to upgrade. You can check out our favorite UV nail lamps for salon-quality curing here if you’re looking for a replacement.
Touching the Sticky Layer Too Soon
Gel polish leaves behind a sticky layer after curing, called the inhibition layer. Touching it with your fingers or allowing dust to settle on it can interfere with your next coat or ruin the shine.
Wait until your entire set is fully cured, then wipe each nail with a lint free pad soaked in 70–90% isopropyl alcohol. This removes the sticky layer and gives you a clean, glossy finish.
Ignoring Aftercare
Curing your gel properly is only half the battle aftercare matters too. Without moisture and protection, nails can become brittle and gel can start lifting prematurely.
Use cuticle oil daily, wear gloves when cleaning or doing dishes, and avoid soaking your hands in hot water for prolonged periods. Also, try to give your nails a break every few weeks to let them breathe and recover.
No UV Protection for Your Skin
It’s easy to forget, but UV light is still UV light. Regular exposure to it especially without protection can contribute to premature aging or skin sensitivity.
To stay safe, apply a layer of SPF 30+ to the back of your hands before placing them under the lamp. You can also buy fingerless UV protective gloves for extra peace of mind, especially if you do gel regularly.
Final Thoughts
A perfect gel manicure is about more than just polish it’s about technique, timing, and having the right tools. Avoiding these common UV lamp mistakes can make your gel nails last longer, look smoother, and feel healthier.
And remember, even flawless technique can’t compensate for a weak or outdated lamp. If you’re ready to take your gel game to the next level, don’t miss our guide to the best UV nail curing lamps whether you’re a home user, nail tech, or salon owner, the right lamp makes all the difference.