Learning how to fix a broken nail at home can save you from pain, further damage, and even infections.
Whether you’re dealing with a small crack or a severe split, simple DIY methods like the tea bag trick, silk wraps, or gel repairs offer quick and effective solutions.
With basic tools and a little care, you can restore your nail’s strength and appearance, all from the comfort of your home.

Why Fixing a Broken Nail Matters
A broken nail might seem minor, but ignoring it can lead to bigger problems. If left untreated, the split could extend further into the nail bed, causing pain or even infection.
Nails are a part of your body’s defense system—they protect your fingertips from injuries and bacteria.
A quick repair prevents complications and restores your nail’s appearance, boosting your confidence.
Plus, who doesn’t love showing off well-groomed hands?
Common Causes of Broken Nails
Weak nails can result from more than just bad luck. They’re often a sign of dehydration or nutrient deficiencies—like a lack of biotin or iron.
Overexposure to water or harsh chemicals, such as dish soap or acetone, also weakens nail structure. Physical trauma, like catching your nail on a surface, is another common culprit.
Interestingly, nails grow at different speeds depending on age and health, with fingernails typically growing about 3.5 millimeters per month.
Knowing what weakens them helps you protect them better.
How to Fix a Broken Nail at Home – Preparation for Nail Repair
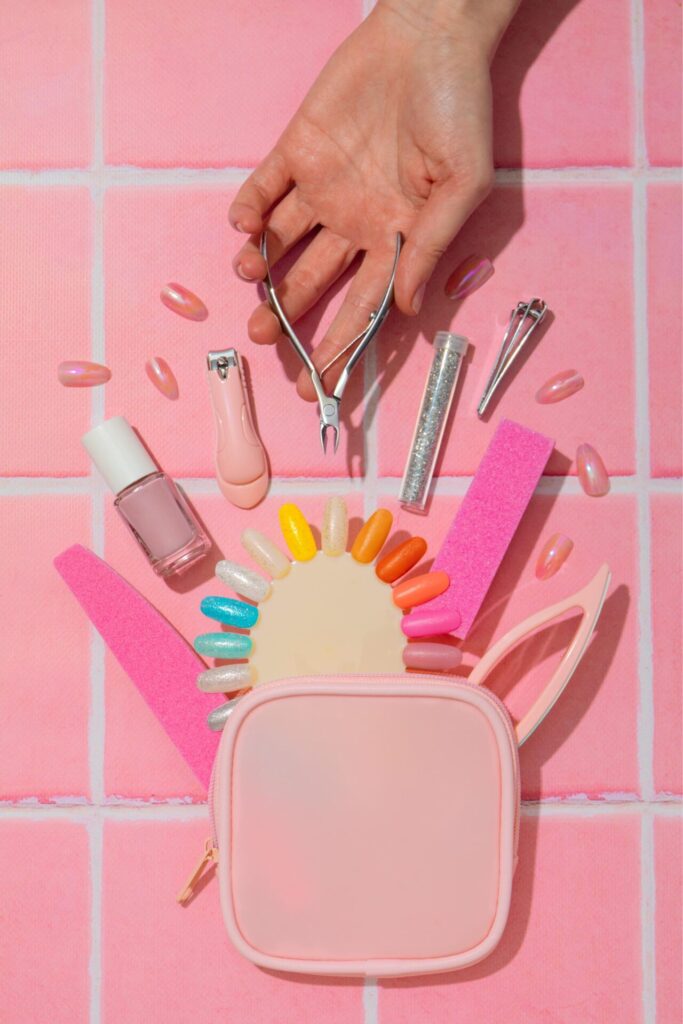
Before repairing a broken nail, gather the necessary tools and materials. Common items you’ll need include:
- Nail glue or adhesive
- A tea bag, silk wrap, or coffee filter
- Nail file and buffer
- Scissors or a nail clipper
- Clear nail polish or a top coat
- Cuticle oil and hand cream (for aftercare)
Having these items ready will make the repair process quicker and more efficient.
Essential Tools and Materials
To fix a broken nail at home, a little preparation goes a long way. Gather nail glue, a tea bag or silk wrap, a nail file, and clear polish.
If you’re dealing with a deep crack, a fine-grit buffer can smooth things out for a seamless repair. Don’t forget hand cream and cuticle oil for aftercare.
Having these tools ready not only saves time but also makes the process feel like a mini pampering session. It’s like having a salon in your pocket!

DIY Methods to Fix Broken Nails
The Tea Bag Trick
This DIY classic uses something you probably already have in your kitchen—a tea bag!
Cut a small piece to cover the broken area, apply nail glue, and gently press it down. Once dry, file it smooth and seal with clear polish.
The tea bag acts like a tiny bandage, reinforcing the crack and blending seamlessly with your nail. It’s affordable, effective, and perfect for emergencies.
Fun fact: The fibers in tea bags are strong yet flexible, making them ideal for this kind of repair.
Silk Wrap Method
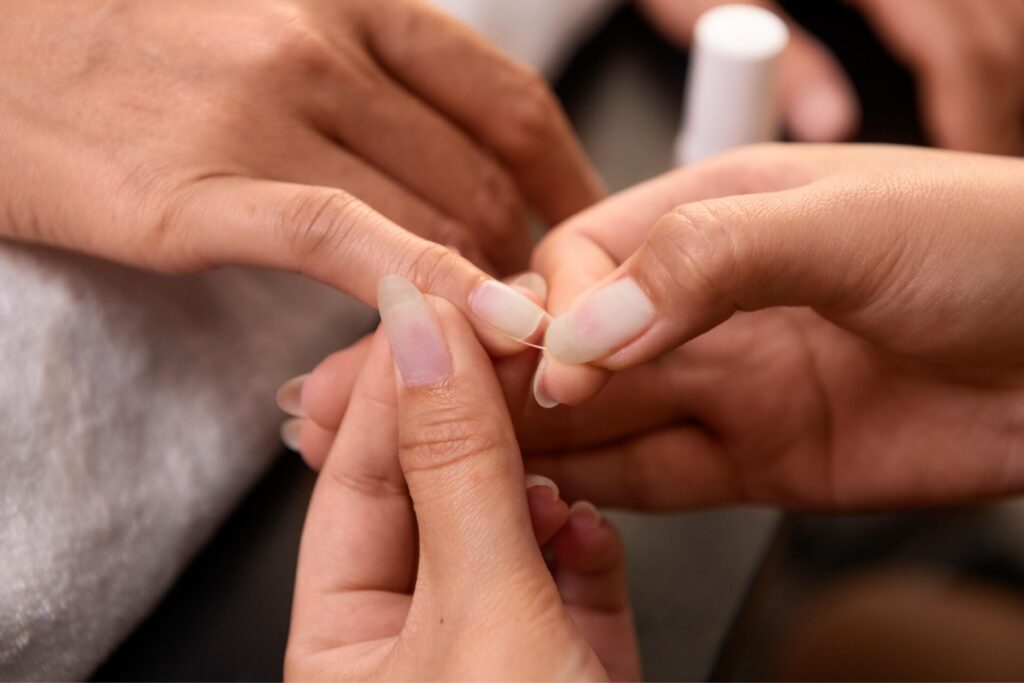
For a more polished and durable fix, silk wraps are unbeatable. These ultra-thin, fabric-like strips create a strong layer over the break.
Apply a small amount of nail glue, place the silk wrap over the crack, and smooth it down. Follow up with another layer of glue and buff gently once dry. Finish with polish for a seamless look.
Silk wraps are a favorite among professionals because they’re lightweight, nearly invisible, and perfect for moderate to severe breaks.
Gel or Acrylic Repair
If your nail is badly broken, gel or acrylic repair is your go-to solution. This method requires nail extension gel or acrylic powder, cured under a UV lamp for durability.
The gel hardens like a protective shield over the damaged nail, preventing further injury. For acrylic repairs, a liquid monomer mixed with powder creates a strong layer that can be shaped and buffed to match your natural nail.
While this technique takes longer, it provides a salon-quality fix that can last for weeks. Just be mindful—excessive use of acrylics can weaken your nails over time.
Quick Temporary Fixes
If you’re short on time, a piece of adhesive tape or a small bandage can temporarily hold the broken nail together. Seal the area with clear polish for added support.
While it’s not a permanent solution, this quick fix prevents further damage until you can repair it properly.
It’s perfect for when you’re out and about and need a fast solution to avoid snags.
Aftercare for Repaired Nails

Daily Moisturizing
Moisture is the lifeline for healthy nails. Use a hydrating cuticle oil rich in vitamin E to nourish your nail bed.
Follow up with a creamy hand lotion to lock in the moisture.
Dry nails are more prone to cracking, so hydration isn’t just about aesthetics—it’s essential for strength.
Did you know? Proper hydration can improve nail flexibility, reducing the chance of future breaks.
Protecting Nails from Damage
Everyday activities, like cleaning or washing dishes, can be tough on your nails. Gloves are your best defense against harsh chemicals and prolonged water exposure.
If you’re a fan of DIY projects, make it a habit to wear gloves while working.
Protecting your nails from these small stresses prevents unnecessary wear and tear, helping your repairs last longer.
Gentle Filing Techniques
The way you file your nails matters more than you think.
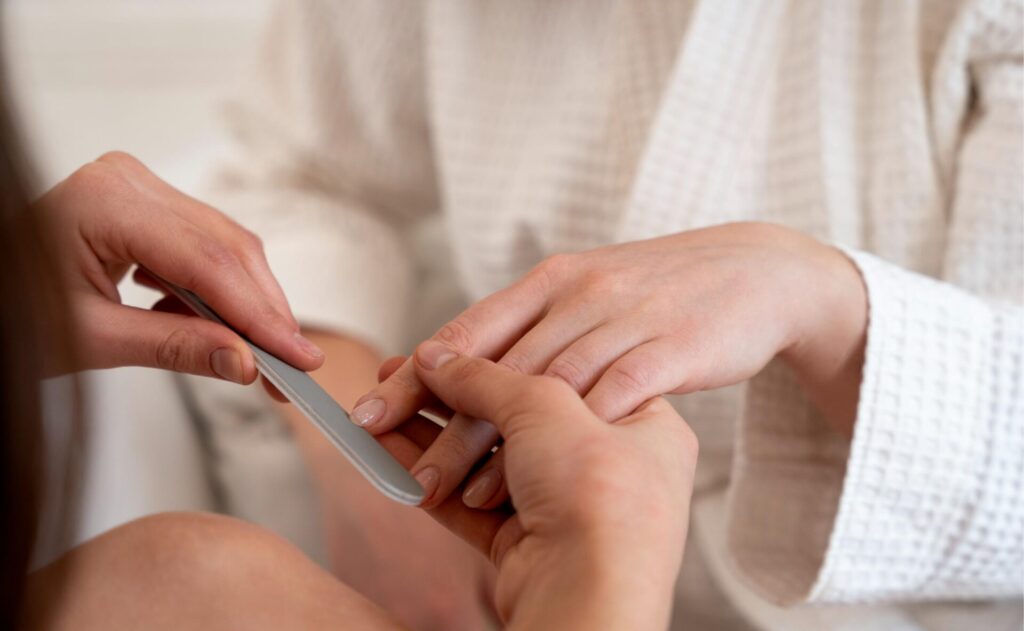
Instead of sawing back and forth, always file in one direction. This reduces the risk of splits and creates a smooth edge.
Use a fine-grit file to avoid over-thinning your nail. Think of filing as a precision job—it’s about shaping, not shaving down your nail.
Letting Nails Breathe
Even nails need a break! Avoid wearing polish 24/7.
Removing it occasionally lets your nails recover from the drying effects of acetone and polish. Use this time to apply strengthening treatments or oils.
You’ll notice your nails look healthier and feel stronger after just a few polish-free days. Check out this guide on removing Sticky Gel .
Prevention Tips for Healthy Nails

Keeping Nails Trimmed and Hydrated
Shorter nails are less likely to snag or break.
Keep them trimmed and filed to a manageable length. Combine this with daily hydration to keep them flexible and resilient.
A simple routine like this can go a long way in maintaining nail health and preventing future mishaps.
Strengthening Treatments
Nail hardeners and strengthening base coats are lifesavers for fragile nails.
Look for products with keratin or biotin—ingredients proven to boost nail strength.
These treatments create a protective barrier while nourishing the nail from within. Use them regularly for noticeable improvements in durability.
Avoiding Harmful Habits
Stop using your nails as tools! Whether it’s opening a package or scratching off a sticker, these small actions put unnecessary pressure on your nails.
Det yourself some tools instead. Treat your nails with care, and they’ll reward you with fewer breaks and splits.
Conclusion

Quick Fixes and Long-Term Care for Stunning Nails
Fixing a broken nail isn’t just about appearances—it’s about protecting your hands and health.
Whether you choose a quick fix like the tea bag trick or a stronger method like silk wraps, taking action promptly makes all the difference.
Combine repairs with a good aftercare routine, and you’ll have nails that are not only beautiful but resilient.
Healthy nails are a reflection of good self-care, so take a little time to pamper them—you deserve it!


